Wednesday, September 7, 2016

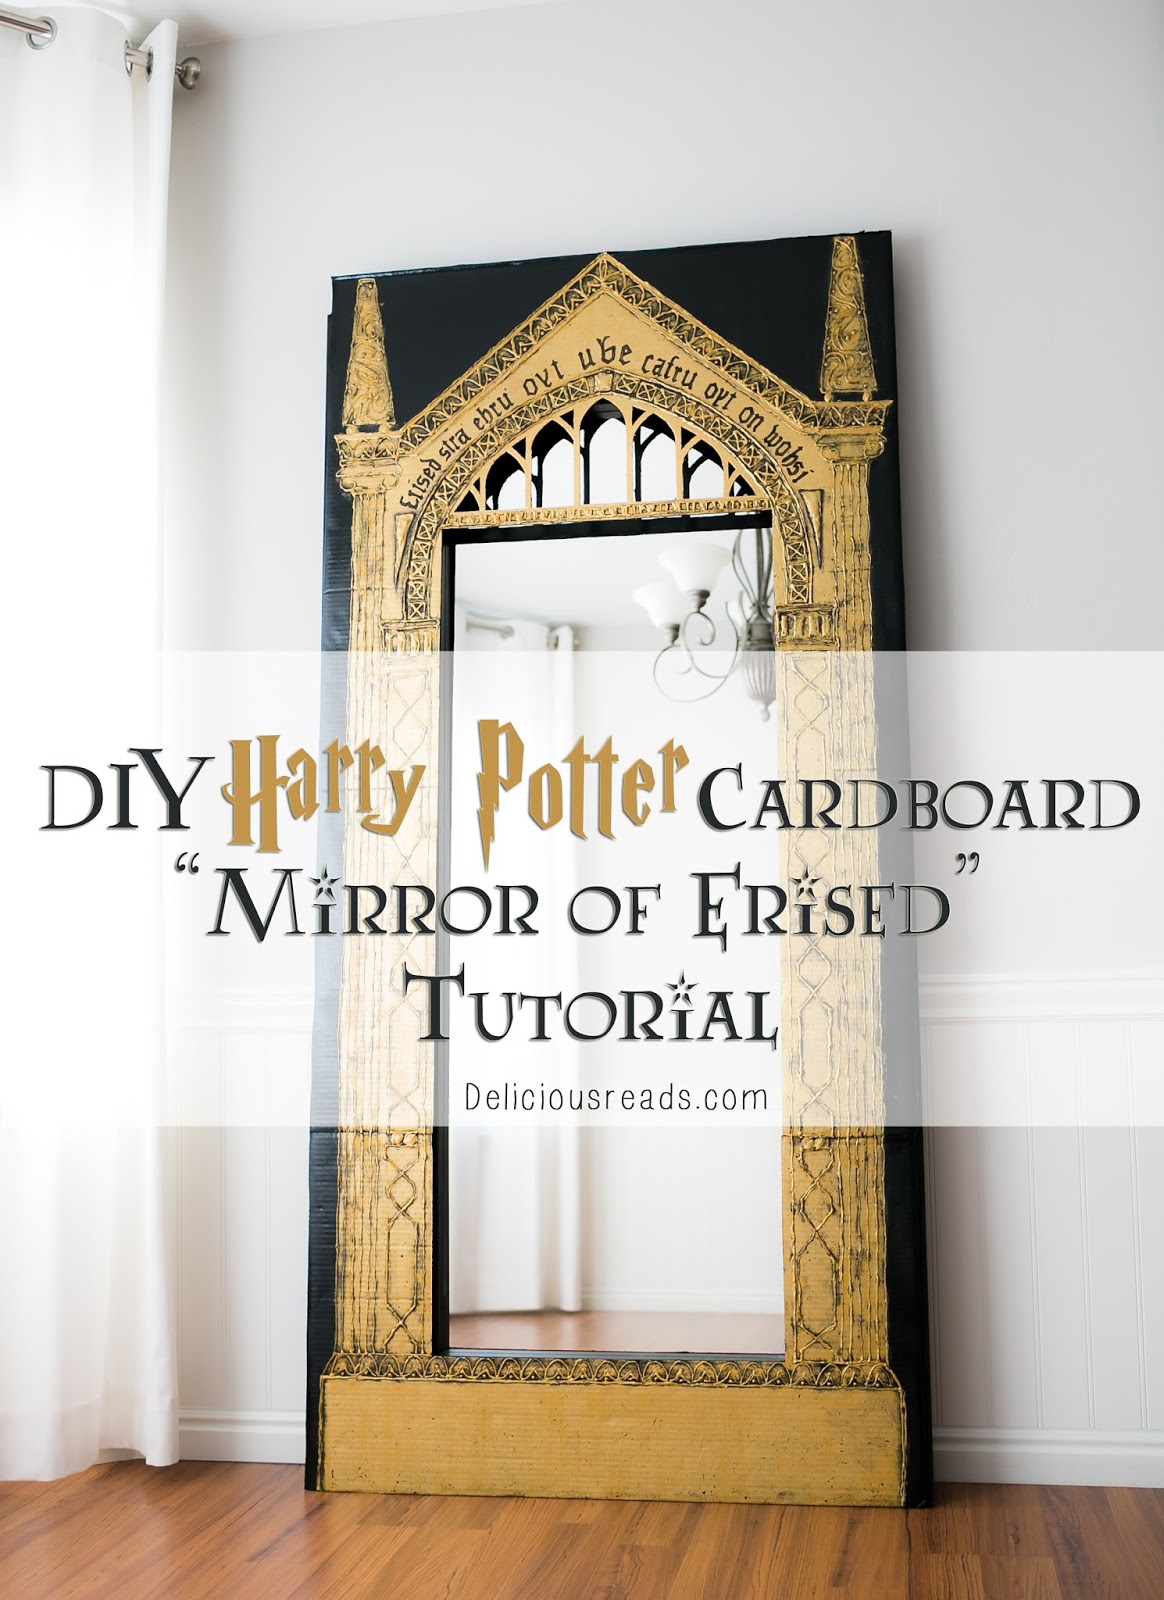
DIY Harry Potter Cardboard "Mirror of Erised" Tutorial

DIY Harry Potter Cardboard Mirror of Erised
Photo by: Summer Nicole Photography
If you know me at all, then you know I LOVE Harry Potter.

 I was thrilled when Marissa from Raegun Ramblings asked me to be a part of her Happy Harry Potter Blog Series this year and WOW, the creativity and talent from all the bloggers participating is mind blowing!


Monday, December 28, 2015

DIY Book Tote


We had a book club retreat in November and we wanted to give our wonderful book club members a swag bag full of goodies of all kinds. We were thinking we would put it in a paper sack and then we ran across this cute bag idea on Pinterest. With all projects you try on Pinterest you have to do some trial and error. This is my version of the Book Tote that looks like a piece of lined paper and I think it was fairly easy to do if you know how to sew a straight line on a sewing machine. This tote took me about 30 minutes to make.

 Step 1:

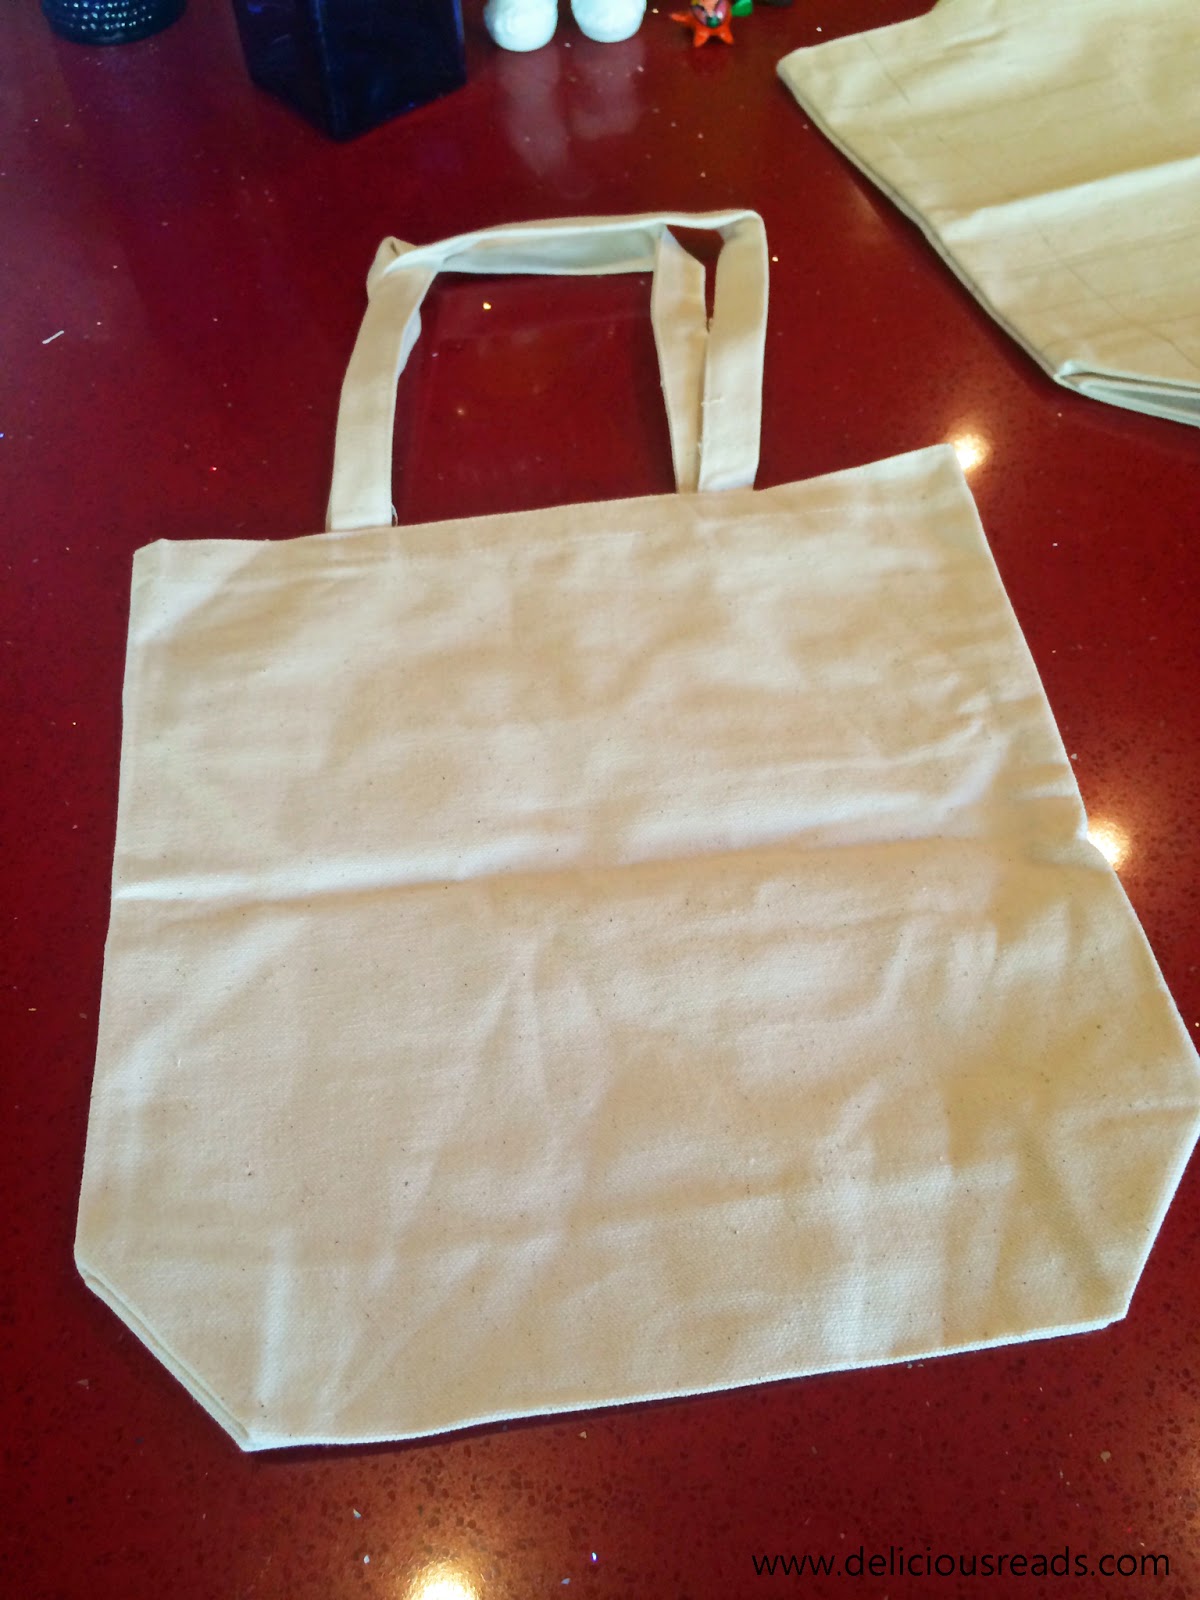
Find a craft store and buy a canvas tote any size you would like. I got mine at Hobby Lobby but I'm sure they are everywhere. You can also find a similar one on Amazon here.(Who doesn't love their Amazon Prime?)

Step 2:

All you need for step 2 is a ruler and a fabric pencil to make the lines. I started the first horizontal line 2 inches from the top. Then I drew a line one inch apart until I got to the bottom where I ended the lines so that they were not on the folding bottom part. That would be really hard to sew there. This is approximately 3 inches from the bottom. The next line you will need to make is the line that runs verticle for the red thread to be hand sewn on. I made this line run parallel to the edge of the tote and about 2 inches from the side. Make sure you draw all these lines on both sides of the tote. Don't worry about the lines. The fabric pencil is meant to stay on temporarily and will rub off or wash off easily.


Step 3:

Now comes the hardest part of the whole operation but really it's not that hard. First I bought the brightest blue thread for the lines. Put the thread on your bobbin and thread it through your machine and you are ready to go. First I started sewing them from the top line down and then I tried from the bottom line up, but really there wasn't that much of a difference so which ever way you prefer. Now don't worry if you sew these and they aren't perfectly straight just try to get them as straight as you can by following the lines you drew. I just started on one side of the tote and sewed all the way around to meet up where I started. Repeat this for all the horizontal lines you drew.


This is what it will look like when you are done with the machine sewing part. As you can see my lines aren't perfectly straight. No Biggie.


Step 4:

This is a super simple step but might take a little more time than you think because you have to hand sew it. I bought some bright red embroidery thread and a large needle that would fit the thread. I cut a piece about 18 inches long so that it would go along the 13 1/2 inch length plus some to tie knots. I threaded the needle and  tied a double knot in the end. To hide the knot I went on the inside and up the folded over fabric and pulled it through till I hit the top.


While stitching down the length of the tote I made sure that I made as much of the thread show as possible and took smaller stitches on the underside. Make sure you stitch the red thread on both sides of the tote. At the end tie it off on the underside and wa la.


The finished product!


Optioonal Step 5: Customize

If you would like to do a little personalizing this takes a little more time but it turned out really cute. I didn't do this for every bag because I had to do 18 bags but I wanted to try it out and see how it would look. I hand drew the lettering that I wanted on the tote. Then I bought some blue embroidery thread to do the stitching. I used the same concept of the red thread stitching just followed the lettering that I drew on there.


The Finished Personalized Tote!


Library Card Design

 Step 1:

Same as in the first design 

Step 2:

When you draw the lines on use this pattern in the picture. I started the first line 1 inch from the top, did two spaces then a double line close together. The vertical line goes from the double line down to the bottom line and farther in from the edge then the other design (about 3 inches).


Step 3:

Sew it the same way as the first tote but this time you will sew one vertical line as in the picture.

 Step 4:

Using your fabric pencil trace on what you want it to say. Look at the pictures below if you want it like a library card. Also I used more of a block lettering so that it would be easier to stitch.


 Then just stitch over the lettering using a blue embroidery thread and the needle from before. You can go simple like this or add even a person's name or the book they borrowed and the date it is due. Have fun with it and it would depend on the amount of time you want to put into it.
  
 The finished product!

We gifted this bag to author Teri Harman to thank her for coming to speak to us at our BOOK CLUB RETREAT this November.


I hope this tutorial gave you some ideas of your own and was easy to follow. If you have questions just leave them in the comments and I will answer them. Have fun sewing and being creative!

XOXO,
Kellie

Friday, October 9, 2015

Pretty in Print: Haunted Gingerbread Houses


To go along with any fun Halloween read, we thought it would be fun to create a few haunted houses of our own.  Haunted gingerbread houses are such a fun activity to do during the month of Halloween
and they are the perfect craft to go along with Shirley Jackson's classic novel.


Friday, September 25, 2015

DIY Poe-Inspired 'Nevermore' Shirt

I am sorry to admit that I am almost never the recipient of my own crafting efforts. I crochet hats for my kids, bake treats for my neighbors, craft up gifts for friends . . . but rarely do I make something for myself to keep.

And in the middle of creating some Halloween decor for my house and costumes for my kids, I realized that I need an awesomely creepy Halloween shirt for myself. I branched out a little from the typical Halloween fare and came up with this t-shirt inspired by one of the creepiest authors I can think of: Mr. Edgar Allan Poe, and an unforgettable line from The Raven.

DIY this awesome Nevermore shirt inspired by The Raven!

It was so fast and simple to make, and I love how it turned out. A subtle, spooky, Halloween-appropriate homage to one of America's greatest authors. 

Wednesday, May 27, 2015

Pretty in Print : Book Wrapping

Wrapping your books

Last month I shared some ideas with you for different color concepts for styling your bookcases.  

Friday, March 27, 2015

DIY: Make Your Own Luggage Tags (link to PDF pattern!)

My friends were planning a party for a group of young women. The theme was "EMBARK" and they didn't know what to give the girls as a take home gift. I offhandedly mentioned that luggage tags would be cool because that's what you use when you "embark" on a trip. A few minutes later, I found myself volunteering to sew some by copying some cute ones we saw online. After I made them, I realized that they could be used as more than just a tag to hook to your suitcase. You can use them as a bookmark (of course, books were the first thing that came to mind - we are Delicious Reads after all), labels for toy bins or organizational tags for your pantry, business card holders, or even a cute little tag to add to your Easter basket. The possibilities are endless!


Monday, December 22, 2014

DIY Holiday Craft Ideas Using Books


(Photo by Kellie)
I love Books! So I love to see pages and books reused into beautiful creations. What a wonderful time of year to be creative and make decorations to use during the holidays with fun creations we make from books.

We had our annual Christmas Book Club and I thought I would try a few things this year to give to the members of our book club who moderated each month. So I decided upon a Christmas Ornament and a Garland. At the end of the night I gave these things I made to the wonderful and talented women who helped out so much this year to make the year so fun. There is a picture of one of the ornaments I made in the picture above and the garland pictured below.
(Photo by Kellie)
The Ornament Tutorial
Step 1: Buy Supplies
First I bought some plastic ornaments from Hobby Lobby (and I went with plastic because I thought that way I won't have to worry about them breaking). I decided to get the larger globes and they looked like this:
Here are the supplies you will need: ribbon (which I buy at Costco because it's such a great deal and you can choose from so many beautiful selections they have), Jumbo Glitter, Green crafting wire and double sided tape, also you need a little bit of fishing line which I found in my garage.
(Photo by Kellie)

 Step 2: The Picture

You can put anything inside these ornaments if you can get them through the tiny hole. I wanted to highlight the books we read each month but you could also put your favorite book you read this year etc. I printed two copies of each book about the size of 3" x 2" to fit nicely inside the globe without it feeling like it didn't fit right. I wanted it to loosely fit inside so that it could move freely and spin if needed. I printed these out and cut them and then used the double sided tape to match them up exactly. Before I put them together I cut a 5 inch piece of fishing line to hang the picture inside the globe without seeing the line that it is attached to. I put the fishing line in between the two pictures then sealed them together with the tape. I was able to fit two books on one 4x6 picture as you can see in the picture.
Step 3: Assemble
1. Next you want to put the glitter in the globe. I poured a generous amount that sits at the bottom. I didn't do this but if you want to try spraying glue inside the globe the glitter will stick to the inside and stay on the sides of the ornament. I didn't think of this till it was too late but doing it again I would most likely do that.
2. Next you will want to quickly roll the picture as loosely as possible to fit inside the globe. When it is inside and you have the fishing line to hold on to it use your finger to straighten out the picture to lay as flat as possible.
3. Then put the top back on and tape the fishing line to the top so that the picture is at a good position inside the ornament and doesn't fall down.
4. Now I cut a piece of the green crafting wire about 6 inches enough to hook it onto my tree later and looped it through the silver circle on the top.
5. Finally, I cut a long length of ribbon to tie a bow on the top of the ornament, then I cut the ends to look the same.


(Photo by Kellie)


The Books Garland Tutorial

Step 1: Get Your Supplies

You don't need too many things to put this together just an old book, rubber cement, a glue stick, gold jumbo glitter, hemp chord, baby wooden clothes clips, ribbon, cardstock paper and a paper cutter.


(Photo by Kellie)

Step 2: Assemble

1. I cut the cardstock in half so that I had two papers 8 1/2 x 5 1/2 inches.
2. Now I cut pages out of the used book I had. I just used scissors to score the edge as close to the binding as I could get. I used 4 pages for every piece of cardstock I had cut out.
3. I folded the pages at angles to cover the paper. Then I took the rubber cement and glued each one down until it was fully covered. On the back of the paper I glued one whole sheet so that it looked clean and nice.
4. Next I used the glue stick to go along the edges of the front of the glued down pages. Then I sprinkled the jumbo gold glitter on the edges. See below.


(Photo by Kellie)

(Photo by Kellie)
5. Next I rubber cemented the picture of the book on the front of the paper.
(Photo by Kellie)
(Photo by Kellie)
6. Then I strung up the length of hemp chord that I wanted and used the baby wooden clothes pins to clip them on the chord. Lastly I put bows of ribbons on the ends of the garland.
(Photo by Kellie)

These are some DIYs I found on Pinterest.


Good Luck with your DIY but you won't need it. It's easy.
xoxo, 

Kellie


Monday, November 10, 2014

Pretty in Print: Incorporating books into your Thanksgiving Table Decor


The holidays are coming up and that means hosting lots dinner parties for families and friends!  I love
hosting dinners for my loved ones, and I love decorating the table for the occasion.

I hardly ever do a holiday tablescape without using my vintage books, they make decorating so 
easy and so fast.  They are great for creating different heights, and quickly give structure to all my table decorations.

I got all of my beautiful vintage books from one of our beautiful local used book stores called Pioneer Book.  They are located on Center Street in Provo and they have such a wonderful selection of 
classic, vintage books.  I would highly recommend stopping in their cute store to have a look at their vast collection. 


When I started thinking about what kind of tablescape I wanted to do for this post, I looked at my books and noticed I didn't have a ton of orange books to create a traditional,
fall thanksgiving table.  But I did have quite a few blue books and I love using blue and orange together, it is such a popular color combo right now.  So, I would suggest when you are thinking 
about how to dress up your table for the up coming holidays, think of mixing things up a little bit.  Choose surprising color combinations, go with something a little less traditional.  Your guests 
are bound to love what ever you come up with and will be impressed with your creativity.


Recreating this look would take you minutes, and wouldn't cost you very much either.  Use books you already have around the house, if you don't have any or enough books in the color 
combo you are wanting, take a  look at this tutorial I did on Book Wrapping.

If you don't have fake fall foliage and pumpkins, right now is the BEST time to stock up because all the stores have majorly discounted all of their fall decor to make room for Christmas.  I love to get faux fall foliage and pumpkins from Michaels and Hobby Lobby.  I also like to get a few stems from Pottery Barn, they have sales on their fall items around this time of year as well. 

I am obsessed with blue and white porcelain, thus it is frequently featured in my posts.  I find it to be 
so timeless and elegant.  Hobby Lobby has an excellent selection of pretty blue and white porcelain, I have purchased quite a few of their items.  You can also find amazing deals and unique pieces in antique stores, for those of you that love to go antiquing like me!


If you aren't into blue and white as much as I am, you could supplement your decor with beautiful 
hand folded books.  I did a tutorial on Book Folding a couple of months ago, check it out!  
These beauties would look great with any color combination or any seasonal decorations you already have!


For the place settings I used white wooden chargers from Pier One Imports and my mom's collection of Blue Willow China.  For place cards I wanted to tie back into the books and reading element of the decor, so, we created our own script of Thanks and Thank You and printed it off in the typewriter font and cut it into the individual cards  You could also use pages from old books.


For the centerpiece I wanted to create something that would be easy and affordable.  I didn't want to go out and buy any extra decorations that I would then have to find a place to store with no
guarantees that I would use it ever again.  So I simply used apples and oranges, mixed in a few fall leaves to break up the composition and threw in a couple of gold pumpkins that can easily be found when you are shopping for your faux fall leaves and pumpkins.  I arranged them all on a platter then used a cake stand to give it a little additional height.


I hope this post has inspired you to create something fun and unique for your Thanksgiving table this year. I would love to see a recreation on this blue and orange theme or any other creative decor you come up with using books.  

Post your pictures to instagram and, as always, make sure to tag @deliciousreads so I can see all of your gorgeous holiday decor! 

Thanks for reading
and happy decorating!
xoxo