Wednesday, May 27, 2015

Pretty in Print : Book Wrapping

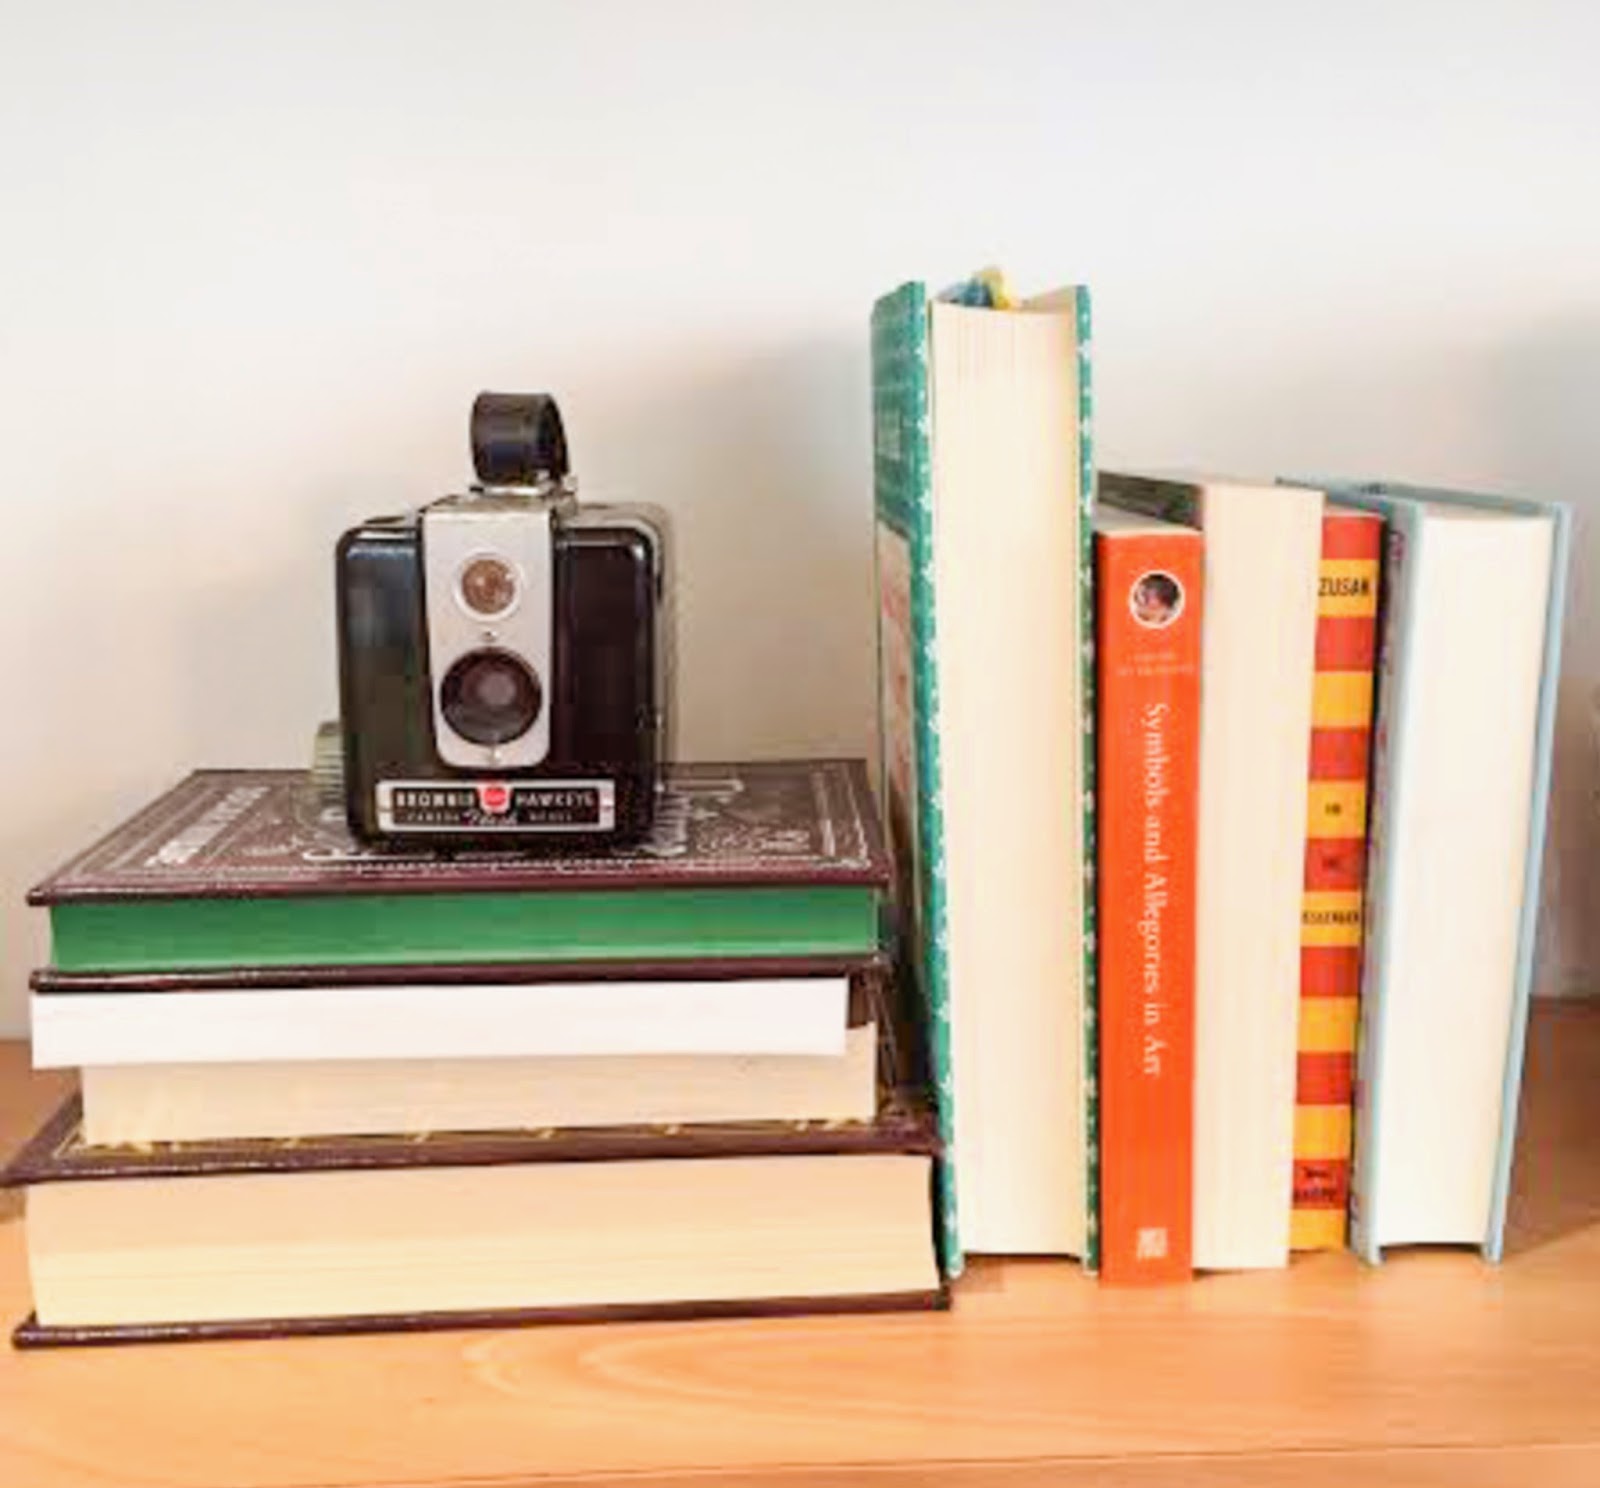
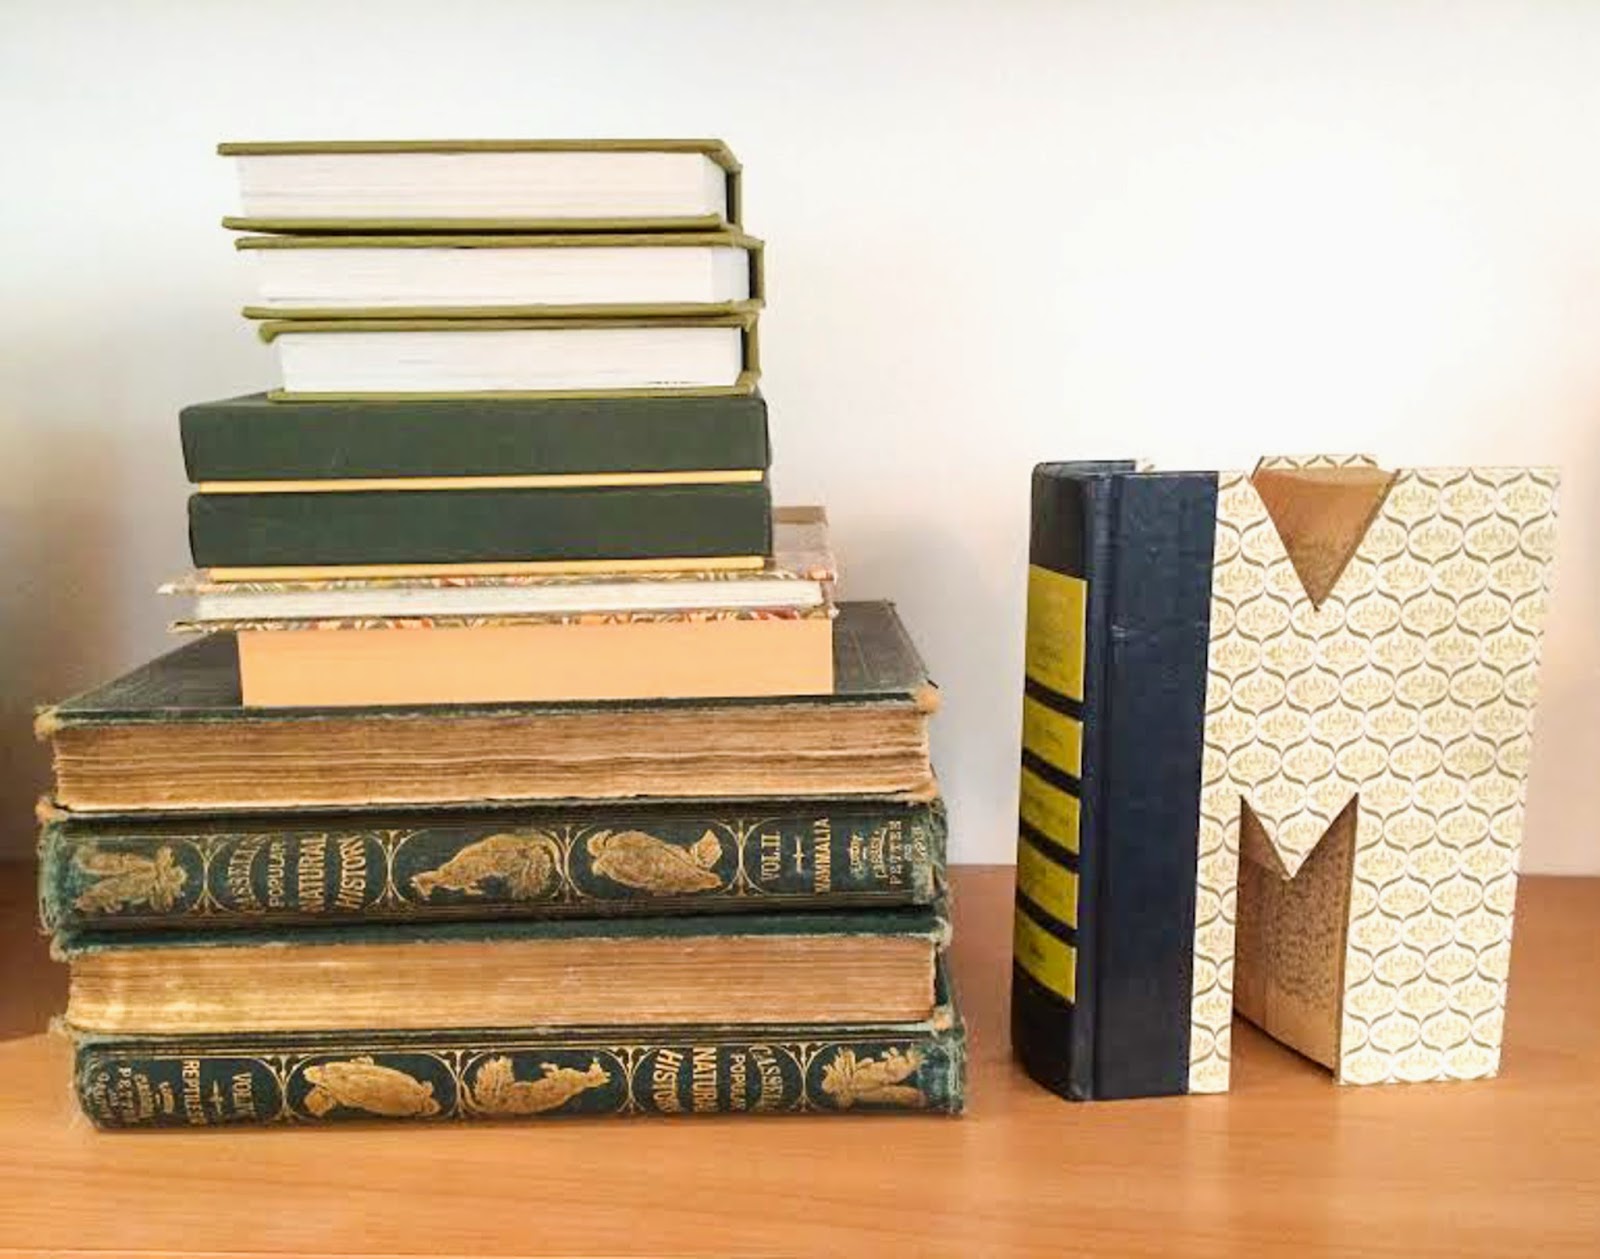
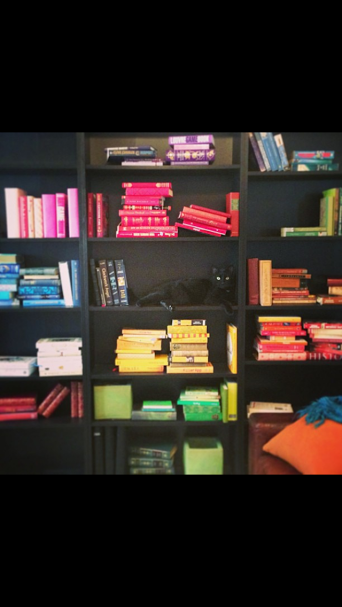
Wrapping your books

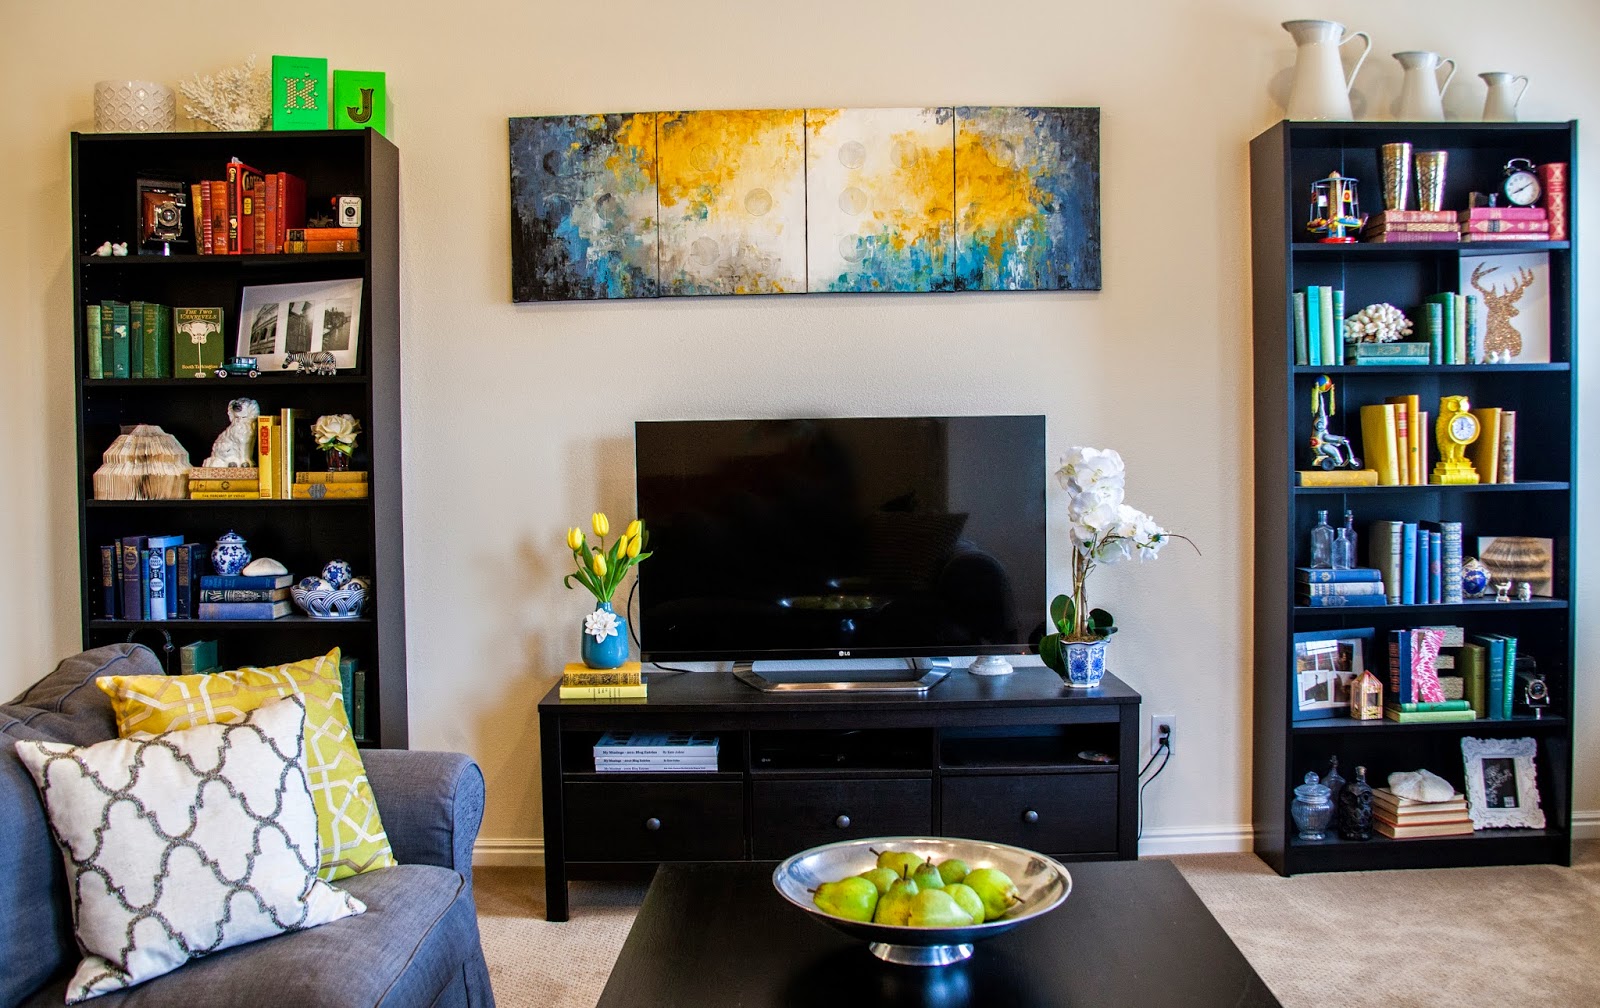
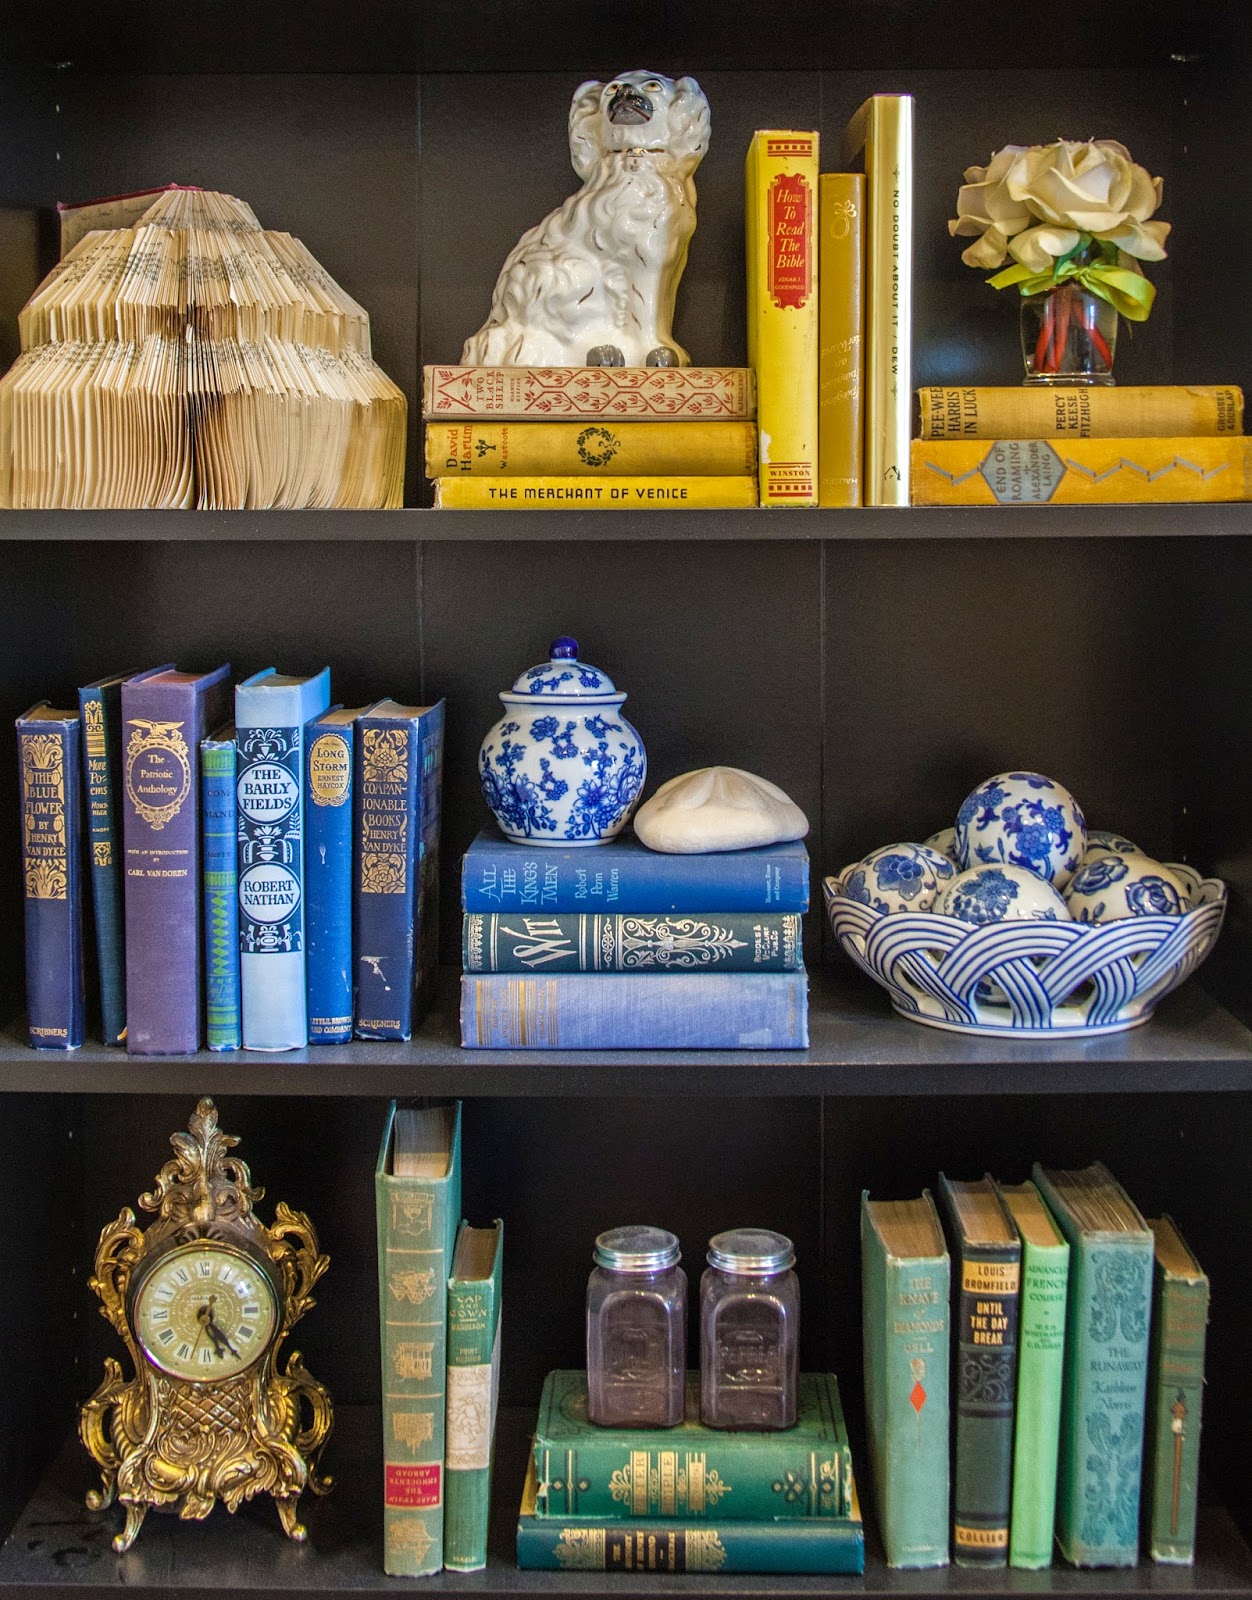
Last month I shared some ideas with you for different color concepts for styling your bookcases.  

Monday, December 22, 2014

DIY Holiday Craft Ideas Using Books


(Photo by Kellie)
I love Books! So I love to see pages and books reused into beautiful creations. What a wonderful time of year to be creative and make decorations to use during the holidays with fun creations we make from books.

We had our annual Christmas Book Club and I thought I would try a few things this year to give to the members of our book club who moderated each month. So I decided upon a Christmas Ornament and a Garland. At the end of the night I gave these things I made to the wonderful and talented women who helped out so much this year to make the year so fun. There is a picture of one of the ornaments I made in the picture above and the garland pictured below.
(Photo by Kellie)
The Ornament Tutorial
Step 1: Buy Supplies
First I bought some plastic ornaments from Hobby Lobby (and I went with plastic because I thought that way I won't have to worry about them breaking). I decided to get the larger globes and they looked like this:
Here are the supplies you will need: ribbon (which I buy at Costco because it's such a great deal and you can choose from so many beautiful selections they have), Jumbo Glitter, Green crafting wire and double sided tape, also you need a little bit of fishing line which I found in my garage.
(Photo by Kellie)

 Step 2: The Picture

You can put anything inside these ornaments if you can get them through the tiny hole. I wanted to highlight the books we read each month but you could also put your favorite book you read this year etc. I printed two copies of each book about the size of 3" x 2" to fit nicely inside the globe without it feeling like it didn't fit right. I wanted it to loosely fit inside so that it could move freely and spin if needed. I printed these out and cut them and then used the double sided tape to match them up exactly. Before I put them together I cut a 5 inch piece of fishing line to hang the picture inside the globe without seeing the line that it is attached to. I put the fishing line in between the two pictures then sealed them together with the tape. I was able to fit two books on one 4x6 picture as you can see in the picture.
Step 3: Assemble
1. Next you want to put the glitter in the globe. I poured a generous amount that sits at the bottom. I didn't do this but if you want to try spraying glue inside the globe the glitter will stick to the inside and stay on the sides of the ornament. I didn't think of this till it was too late but doing it again I would most likely do that.
2. Next you will want to quickly roll the picture as loosely as possible to fit inside the globe. When it is inside and you have the fishing line to hold on to it use your finger to straighten out the picture to lay as flat as possible.
3. Then put the top back on and tape the fishing line to the top so that the picture is at a good position inside the ornament and doesn't fall down.
4. Now I cut a piece of the green crafting wire about 6 inches enough to hook it onto my tree later and looped it through the silver circle on the top.
5. Finally, I cut a long length of ribbon to tie a bow on the top of the ornament, then I cut the ends to look the same.


(Photo by Kellie)


The Books Garland Tutorial

Step 1: Get Your Supplies

You don't need too many things to put this together just an old book, rubber cement, a glue stick, gold jumbo glitter, hemp chord, baby wooden clothes clips, ribbon, cardstock paper and a paper cutter.


(Photo by Kellie)

Step 2: Assemble

1. I cut the cardstock in half so that I had two papers 8 1/2 x 5 1/2 inches.
2. Now I cut pages out of the used book I had. I just used scissors to score the edge as close to the binding as I could get. I used 4 pages for every piece of cardstock I had cut out.
3. I folded the pages at angles to cover the paper. Then I took the rubber cement and glued each one down until it was fully covered. On the back of the paper I glued one whole sheet so that it looked clean and nice.
4. Next I used the glue stick to go along the edges of the front of the glued down pages. Then I sprinkled the jumbo gold glitter on the edges. See below.


(Photo by Kellie)

(Photo by Kellie)
5. Next I rubber cemented the picture of the book on the front of the paper.
(Photo by Kellie)
(Photo by Kellie)
6. Then I strung up the length of hemp chord that I wanted and used the baby wooden clothes pins to clip them on the chord. Lastly I put bows of ribbons on the ends of the garland.
(Photo by Kellie)

These are some DIYs I found on Pinterest.


Good Luck with your DIY but you won't need it. It's easy.
xoxo, 

Kellie


Monday, November 10, 2014

Pretty in Print: Incorporating books into your Thanksgiving Table Decor


The holidays are coming up and that means hosting lots dinner parties for families and friends!  I love
hosting dinners for my loved ones, and I love decorating the table for the occasion.

I hardly ever do a holiday tablescape without using my vintage books, they make decorating so 
easy and so fast.  They are great for creating different heights, and quickly give structure to all my table decorations.

I got all of my beautiful vintage books from one of our beautiful local used book stores called Pioneer Book.  They are located on Center Street in Provo and they have such a wonderful selection of 
classic, vintage books.  I would highly recommend stopping in their cute store to have a look at their vast collection. 


When I started thinking about what kind of tablescape I wanted to do for this post, I looked at my books and noticed I didn't have a ton of orange books to create a traditional,
fall thanksgiving table.  But I did have quite a few blue books and I love using blue and orange together, it is such a popular color combo right now.  So, I would suggest when you are thinking 
about how to dress up your table for the up coming holidays, think of mixing things up a little bit.  Choose surprising color combinations, go with something a little less traditional.  Your guests 
are bound to love what ever you come up with and will be impressed with your creativity.


Recreating this look would take you minutes, and wouldn't cost you very much either.  Use books you already have around the house, if you don't have any or enough books in the color 
combo you are wanting, take a  look at this tutorial I did on Book Wrapping.

If you don't have fake fall foliage and pumpkins, right now is the BEST time to stock up because all the stores have majorly discounted all of their fall decor to make room for Christmas.  I love to get faux fall foliage and pumpkins from Michaels and Hobby Lobby.  I also like to get a few stems from Pottery Barn, they have sales on their fall items around this time of year as well. 

I am obsessed with blue and white porcelain, thus it is frequently featured in my posts.  I find it to be 
so timeless and elegant.  Hobby Lobby has an excellent selection of pretty blue and white porcelain, I have purchased quite a few of their items.  You can also find amazing deals and unique pieces in antique stores, for those of you that love to go antiquing like me!


If you aren't into blue and white as much as I am, you could supplement your decor with beautiful 
hand folded books.  I did a tutorial on Book Folding a couple of months ago, check it out!  
These beauties would look great with any color combination or any seasonal decorations you already have!


For the place settings I used white wooden chargers from Pier One Imports and my mom's collection of Blue Willow China.  For place cards I wanted to tie back into the books and reading element of the decor, so, we created our own script of Thanks and Thank You and printed it off in the typewriter font and cut it into the individual cards  You could also use pages from old books.


For the centerpiece I wanted to create something that would be easy and affordable.  I didn't want to go out and buy any extra decorations that I would then have to find a place to store with no
guarantees that I would use it ever again.  So I simply used apples and oranges, mixed in a few fall leaves to break up the composition and threw in a couple of gold pumpkins that can easily be found when you are shopping for your faux fall leaves and pumpkins.  I arranged them all on a platter then used a cake stand to give it a little additional height.


I hope this post has inspired you to create something fun and unique for your Thanksgiving table this year. I would love to see a recreation on this blue and orange theme or any other creative decor you come up with using books.  

Post your pictures to instagram and, as always, make sure to tag @deliciousreads so I can see all of your gorgeous holiday decor! 

Thanks for reading
and happy decorating!
xoxo


Monday, June 16, 2014

Pretty in Print: Book Folding


Hello dear readers!  
This is my last post in my book case styling series.  
My first post was on how to style your book cases, and I talked a little bit about
how to mix your books in with some fun and unique objects to add interest and variety to 
your shelves.  This week's post is for those of you that don't have any, or not enough,
items to mix in with your books.

Books with folded pages are eye catching and very unique. 
 They add fun visual interest to any space and are so easy and cheap to make.
And would make the perfect item to mix in with your stacked books.
Go to your local DI or thrift store and pick up a few hard back books.  
Look for a variety of sizes, get some big ones and get some little ones to 
mix and match.  A few of the books that I have are little dictionaries, and some are
novels.  If you are putting them in your book cases you won't be seeing the covers
and you, of course, won't be able to read the text, so any type of book works great.

Then put on your favorite movie and start folding!  
This is such an easy craft, but it is time consuming, so it's fun to have a movie playing
or have some friends over, and you can chat while folding.
Here are a couple of step by step instructions for 
a few different patterns:

Triangle and diamond shapes are the easiest 
It's just two simple folds per page

This is what the pattern looks like

First, fold the top part of the page in half, making sure the corner of the 
page reaches the spine of the book.  If you want the entire edge of the page
to line up with the spine, you will have a more pointed top.  If you just bring the
corner to the spine, as shown below, the top of your book will
be a little more flat.  Either way works great, it just depends
on the look you are going for.

Second, fold the bottom corner up to the top of 
the page just far enough to make a sharp point. 

Repeat this same pattern on all the pages


This is the pattern if you are wanting a
 more diamond looking shape


Fist fold up the bottom of the page, lining the edge of 
the paper with the spine


Second, fold the top part of the page until the edge meets the spine.  

Repeat this same pattern on all of the pages


This look is one of my favorites.  It's fairly simple 
as well, it just requires three easy folds per page.


This is what the pattern looks like


First, fold the page in half


Second, fold back the top and bottom corners
to create an arrow pointing towards the spine.

Repeat this same pattern on all the pages.


This double diamond look is the most difficult,
but only because you alternate the pattern slightly on 
every other page.  It's still only two folds per page.


Here is the pattern for half of the pages


First, fold the bottom corner up so the edge 
lines up with the spine.


Second, fold the top corner down until it forms a point.


On the next page, repeat the same pattern in reverse. 
Start by folding the top corner down, then fold the bottom
corner up to create a point.


These are just a few ideas, there are endless possibilities.  You can easily create
your own pattern, simply by opening up your book, folding the first page
in anyway you like and repeat it for the rest of the book and see 
what fun shape you end up with!

As always, I would LOVE to see how your folded 
books turn out!  Post pictures of your newly folded books
to instagram and make sure to tag @deliciousreads in the caption
so I can see all of your beautiful creations!

Thanks for reading 
and happy book folding!
xoxo

Kate

Monday, April 28, 2014

Pretty in Print: Styling Your Bookcases


Bookcases are often the centerpiece of a room.  
They set the tone and mood for any space, and are also a perfect place to show off your interests, hobbies, passions and memories.  

For this month's post, I would like to share some ideas with you on how
to create visual interest in your bookcases.


First off, some general suggestions about how to arrange your bookcases:

1.) Have a variety of vertical and horizontal groupings of your books. 

Arranging your book case
This is a great way to break up the space, and to direct the eye to different levels of each shelf.  
By having all the books on one shelf stacked all vertically or horizontally, it may create a visual weight that can make bookcases seem heavy or stuffy and it can lack visual interest.

2.) Mix in items that that say a little something about you

Add interest to your book shelf

Bookcases, filled to the brim with books can be magical, and if done correctly, can look crisp and organized.  But they can also tend to look like a university library or a book store.  When you have bookcases in your home, you can use them as a way to express your personality.  Mix souvenirs from your travels in with your books, or if you are into antiquing or art or photographs or model cars etc. mix and match your collections in with your books.  It creates amazing visual interest for your bookcases and makes them your own, not to mention they become wonderful conversation starters whenever you have guests over.

3.) Don't neglect the negative space

Arranging books
In any type of art, negative space is just as important as the primary subject.  The same idea applies to the art of styling your bookcases, it is important to leave negative space.  If you fill each shelf completely full of fun items and books, it can come across as cluttered and it robs the viewer of the chance to appreciate each piece in the grouping.  Make sure you can see the back of each shelf, and each item and book has enough room to make a statement and not get lost in the composition.


Now,  I would like to share a couple of ideas for different bookcase concepts:

1.) A Pop of C O L O R

Book shelf styling
Adding color to your book shelves
Arranging your books by color is a fun and unique way to brighten up any room.  It's also a great way to pull in colors if you don't want to commit to a paint color for a wall or if your in a rental property and painting just isn't an option.  It's also fun to rearrange your shelves for different holidays, use green and red for christmas, or yellow, green and lavender for easter.  You could use analogous colors to create a desired mood or feeling for a room. Using cool colors will create a more calming and peaceful atmosphere while warm colors will energize and liven up a space.  There are so many options with color, the list goes on and on.

2.) Clean and Classic Neutrals 
Book shelf styling

Clean book shelves

Having a bookcase full of clean and classic neutral colors can bring a breath of fresh air to your living space.  It's refreshing, it's light and it goes with absolutely everything.  A great way to achieve this look is by turning your books around so their spines are facing the back of the shelf and their white, cream and beige pages create a great uniform look.  This is also a good way to go if you have a random assortment of books and you don't like the way the spines look or you don't think they go together very well.

I hope you have found one or all of these suggestions interesting and useful.  I would love to hear some bookcase styling ideas that you have implemented in your home, share them with us in the comments below!  I would also love to see if you have taken any of these suggestions and added your own flare and creativity for a fun new look, take a picture of your newly styled bookcases, post it to instagram and make sure to tag @deliciousreads in your caption so I can see how they turn out!

Next month I will be sharing a fun and crafty way to achieve these looks even if you don't have the colors of books you are wanting for your bookcase, or if you don't have enough neutral books to fill the space, make sure you check back to see what great tip I have for you!

Thanks for reading and happy styling,
xoxo, Kate