
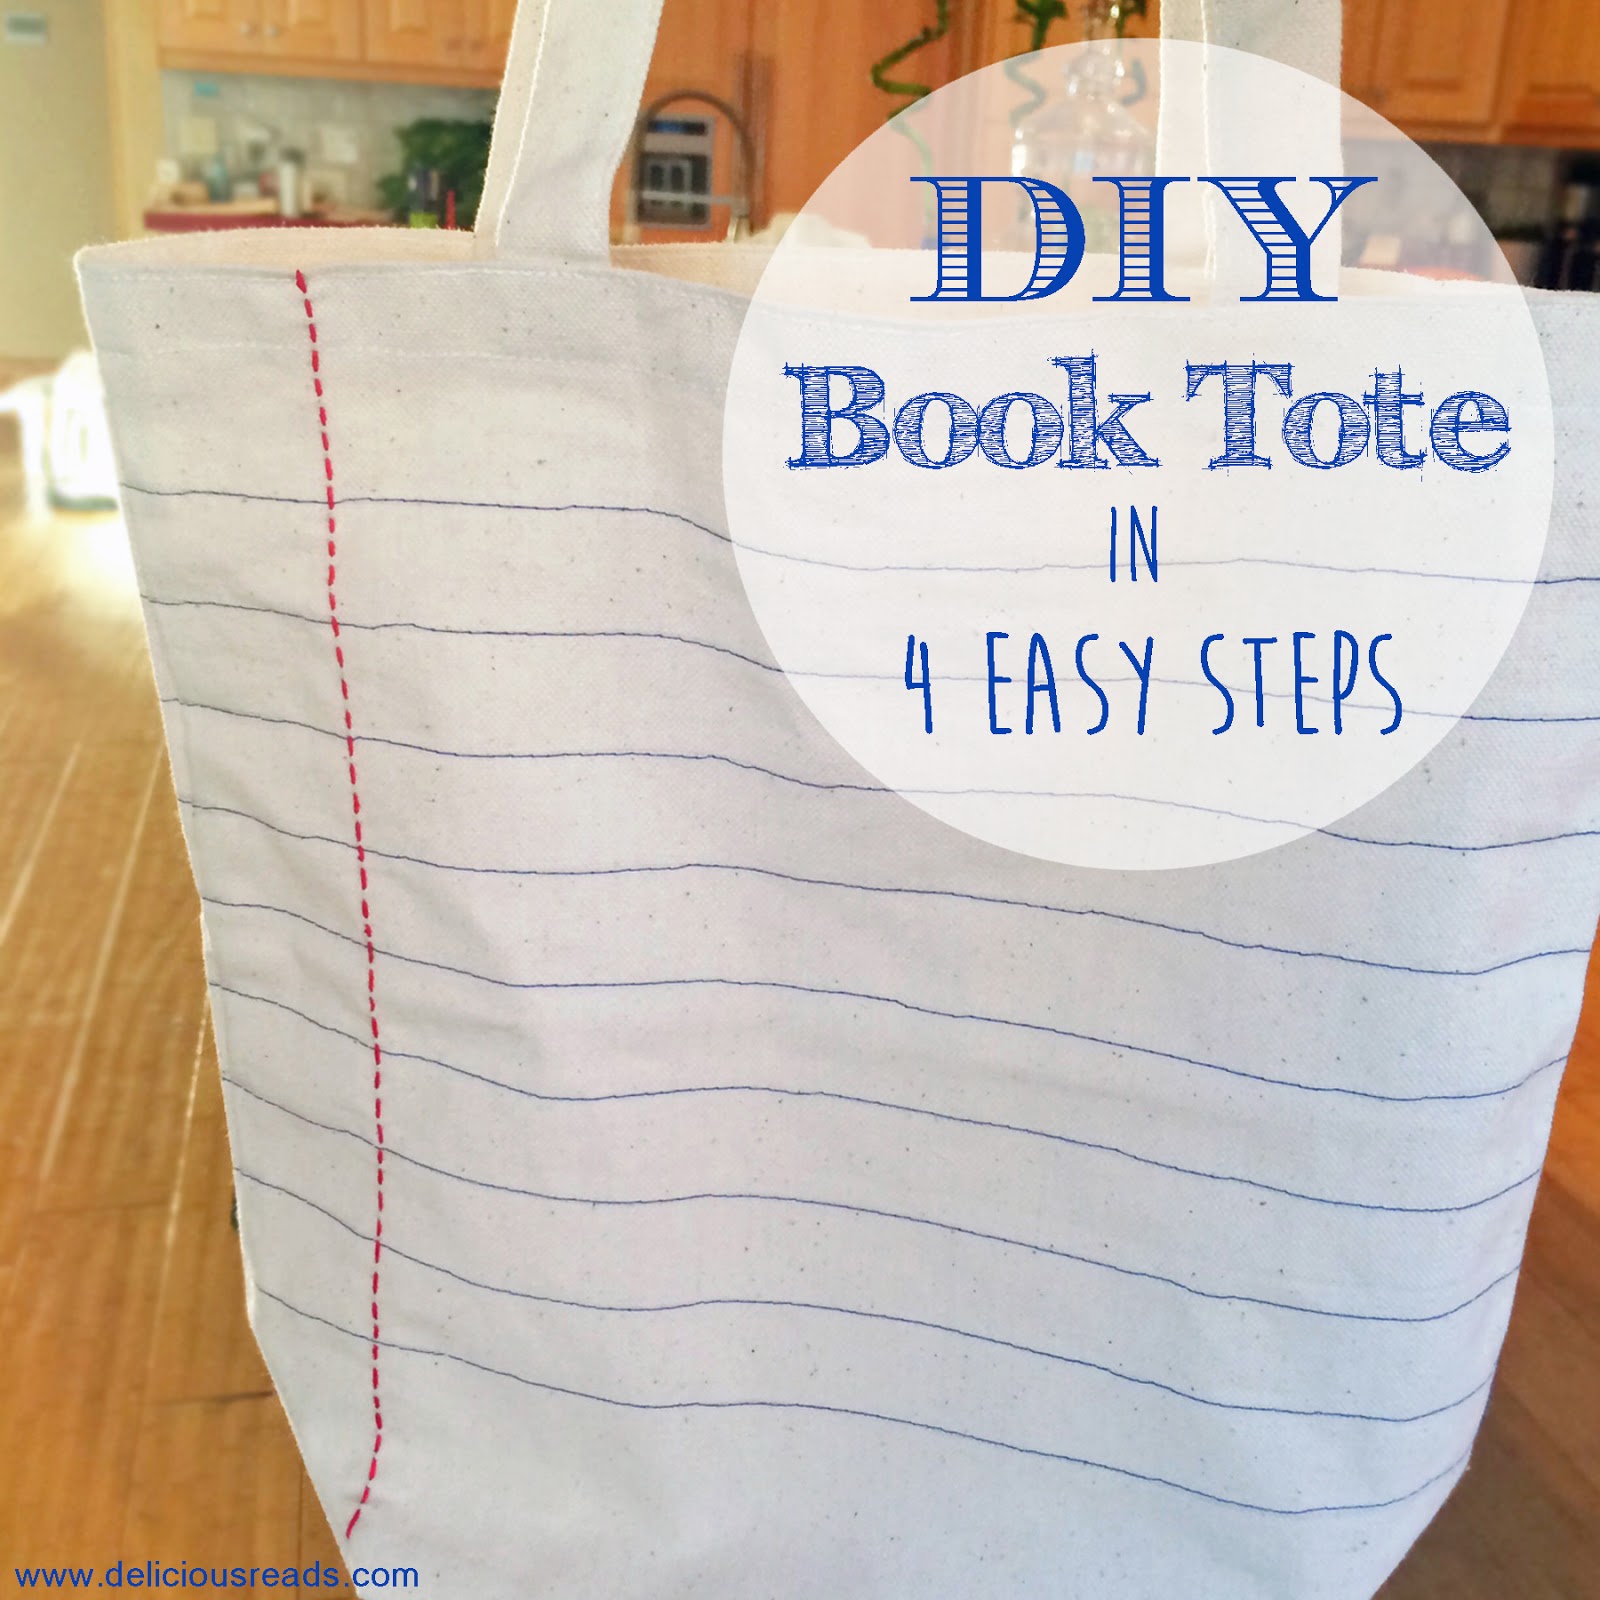
We had a book club retreat in November and we wanted to give our wonderful book club members a swag bag full of goodies of all kinds. We were thinking we would put it in a paper sack and then we ran across this cute bag idea on Pinterest. With all projects you try on Pinterest you have to do some trial and error. This is my version of the Book Tote that looks like a piece of lined paper and I think it was fairly easy to do if you know how to sew a straight line on a sewing machine. This tote took me about 30 minutes to make.
Step 1:
Find a craft store and buy a canvas tote any size you would like. I got mine at Hobby Lobby but I'm sure they are everywhere. You can also find a similar one on Amazon here.(Who doesn't love their Amazon Prime?)
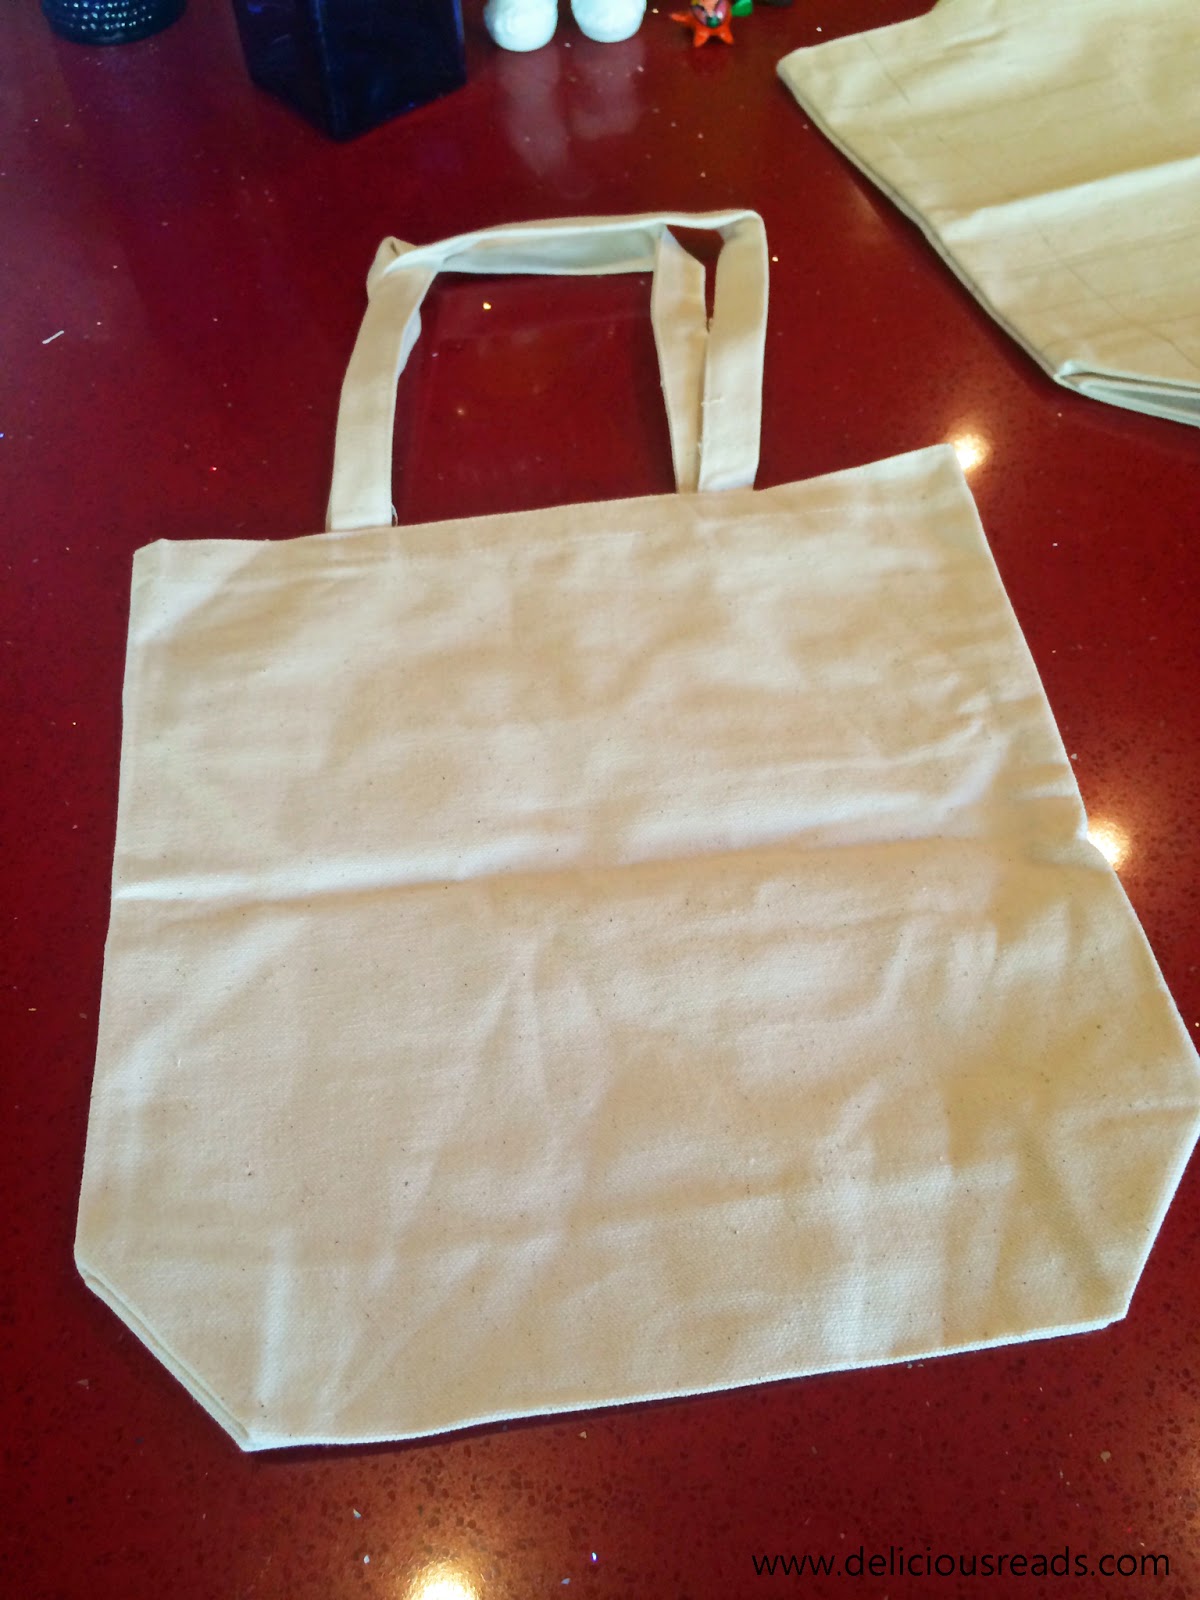
Step 2:
All you need for step 2 is a ruler and a fabric pencil to make the lines. I started the first horizontal line 2 inches from the top. Then I drew a line one inch apart until I got to the bottom where I ended the lines so that they were not on the folding bottom part. That would be really hard to sew there. This is approximately 3 inches from the bottom. The next line you will need to make is the line that runs verticle for the red thread to be hand sewn on. I made this line run parallel to the edge of the tote and about 2 inches from the side. Make sure you draw all these lines on both sides of the tote. Don't worry about the lines. The fabric pencil is meant to stay on temporarily and will rub off or wash off easily.

Step 3:
Now comes the hardest part of the whole operation but really it's not that hard. First I bought the brightest blue thread for the lines. Put the thread on your bobbin and thread it through your machine and you are ready to go. First I started sewing them from the top line down and then I tried from the bottom line up, but really there wasn't that much of a difference so which ever way you prefer. Now don't worry if you sew these and they aren't perfectly straight just try to get them as straight as you can by following the lines you drew. I just started on one side of the tote and sewed all the way around to meet up where I started. Repeat this for all the horizontal lines you drew.
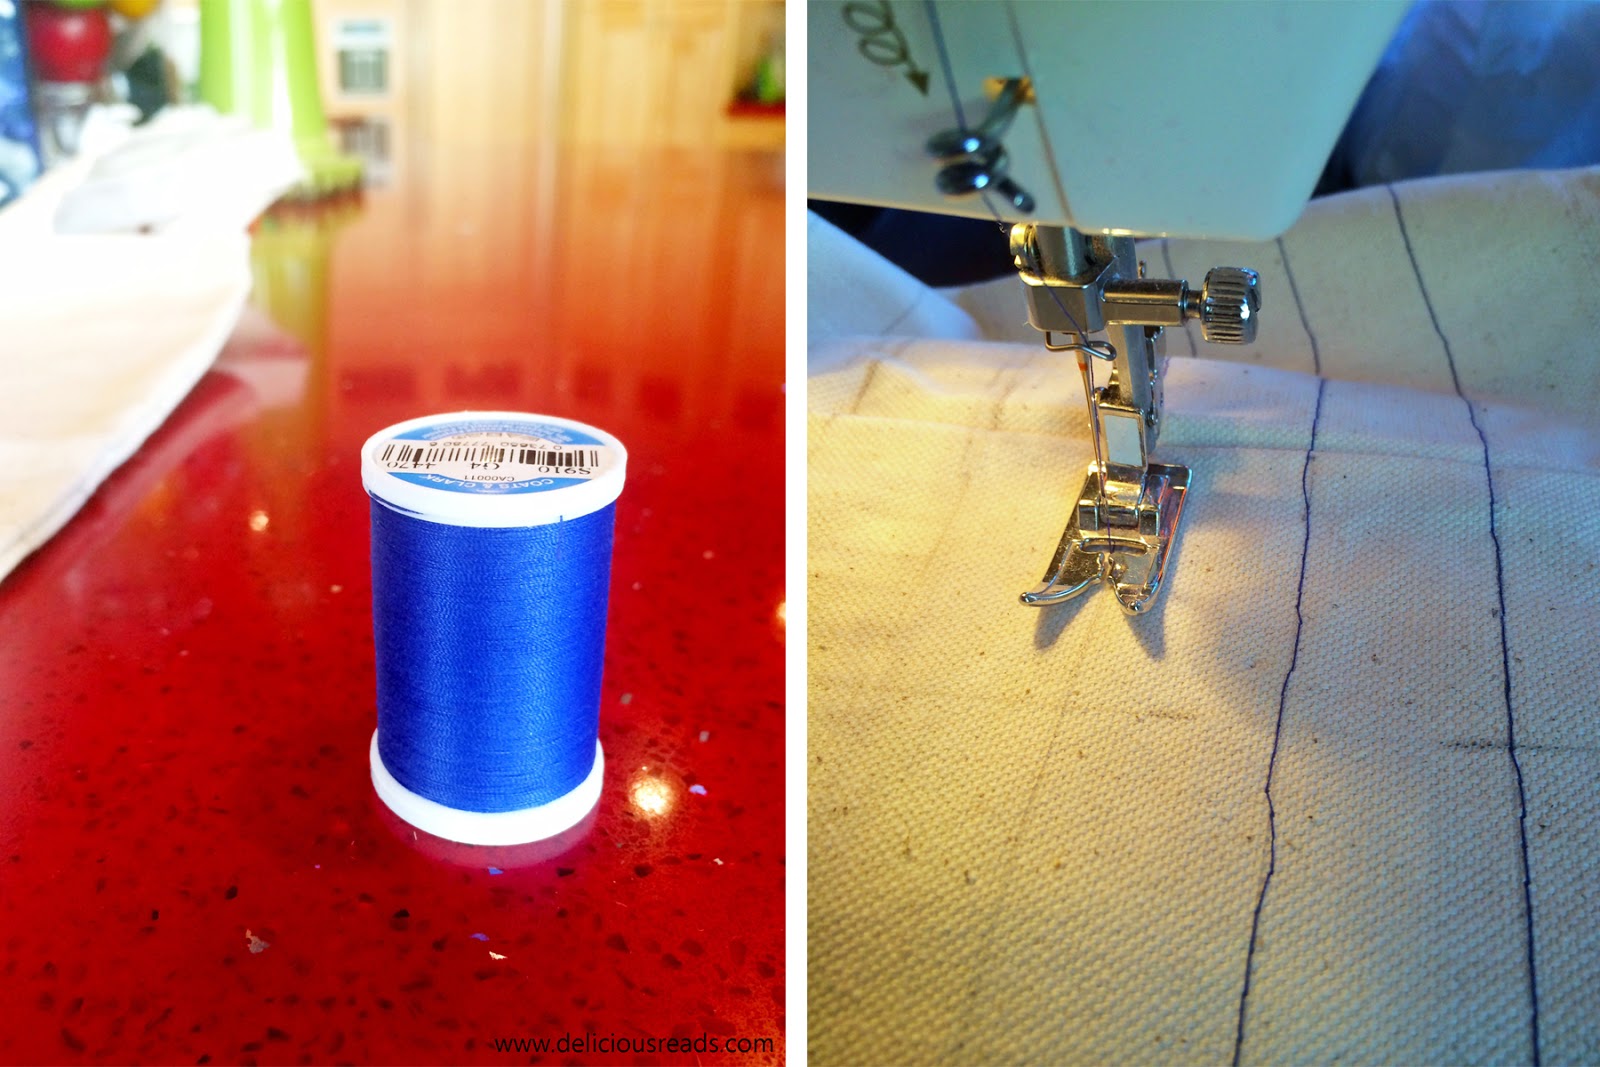
This is what it will look like when you are done with the machine sewing part. As you can see my lines aren't perfectly straight. No Biggie.

Step 4:
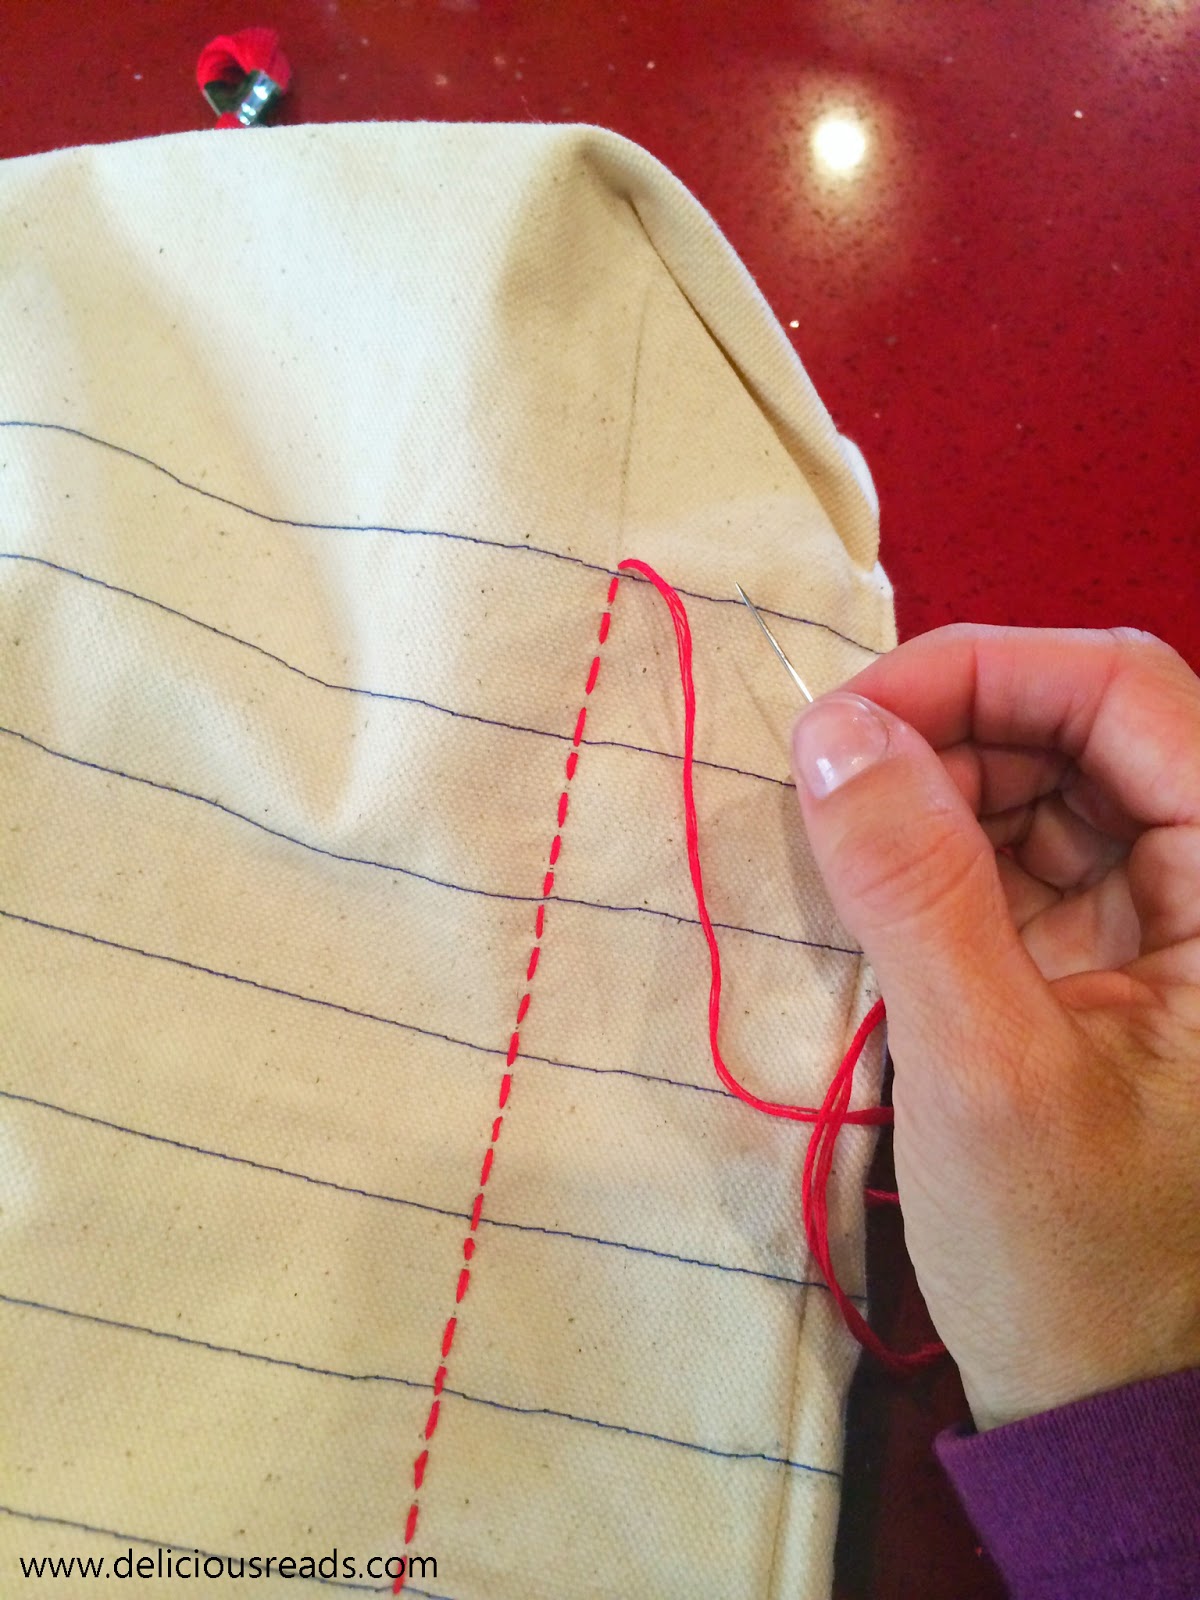
This is a super simple step but might take a little more time than you think because you have to hand sew it. I bought some bright red embroidery thread and a large needle that would fit the thread. I cut a piece about 18 inches long so that it would go along the 13 1/2 inch length plus some to tie knots. I threaded the needle and tied a double knot in the end. To hide the knot I went on the inside and up the folded over fabric and pulled it through till I hit the top.
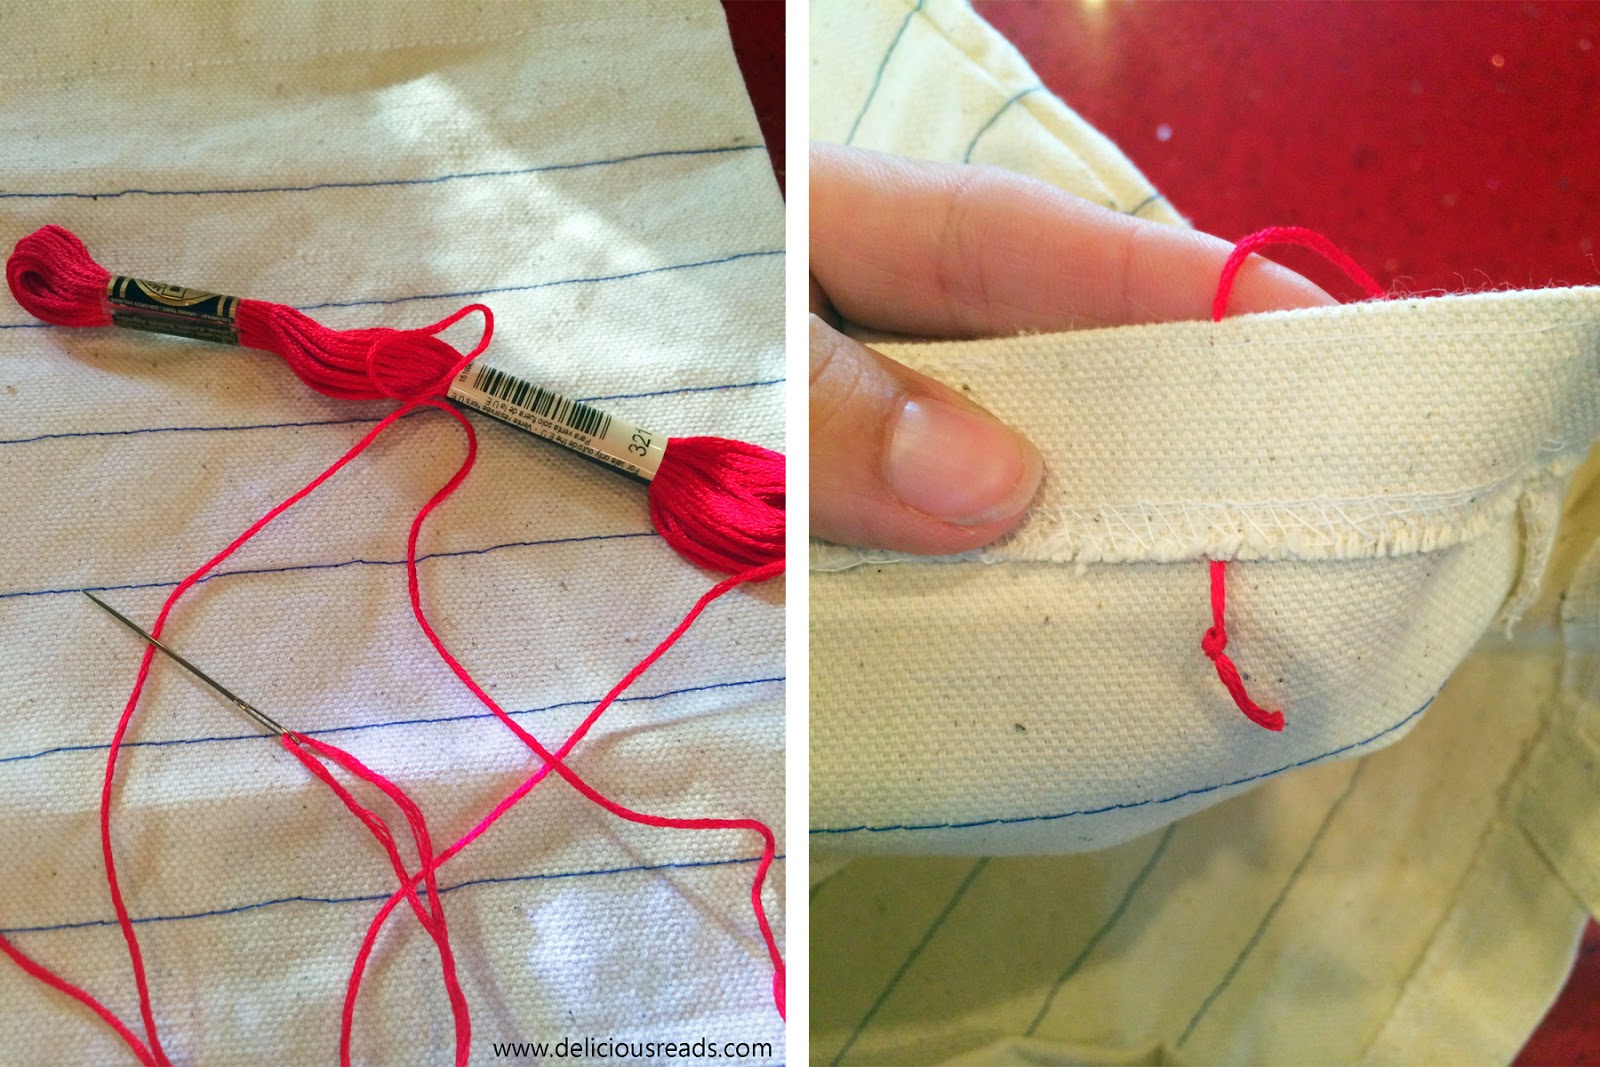
While stitching down the length of the tote I made sure that I made as much of the thread show as possible and took smaller stitches on the underside. Make sure you stitch the red thread on both sides of the tote. At the end tie it off on the underside and wa la.
The finished product!
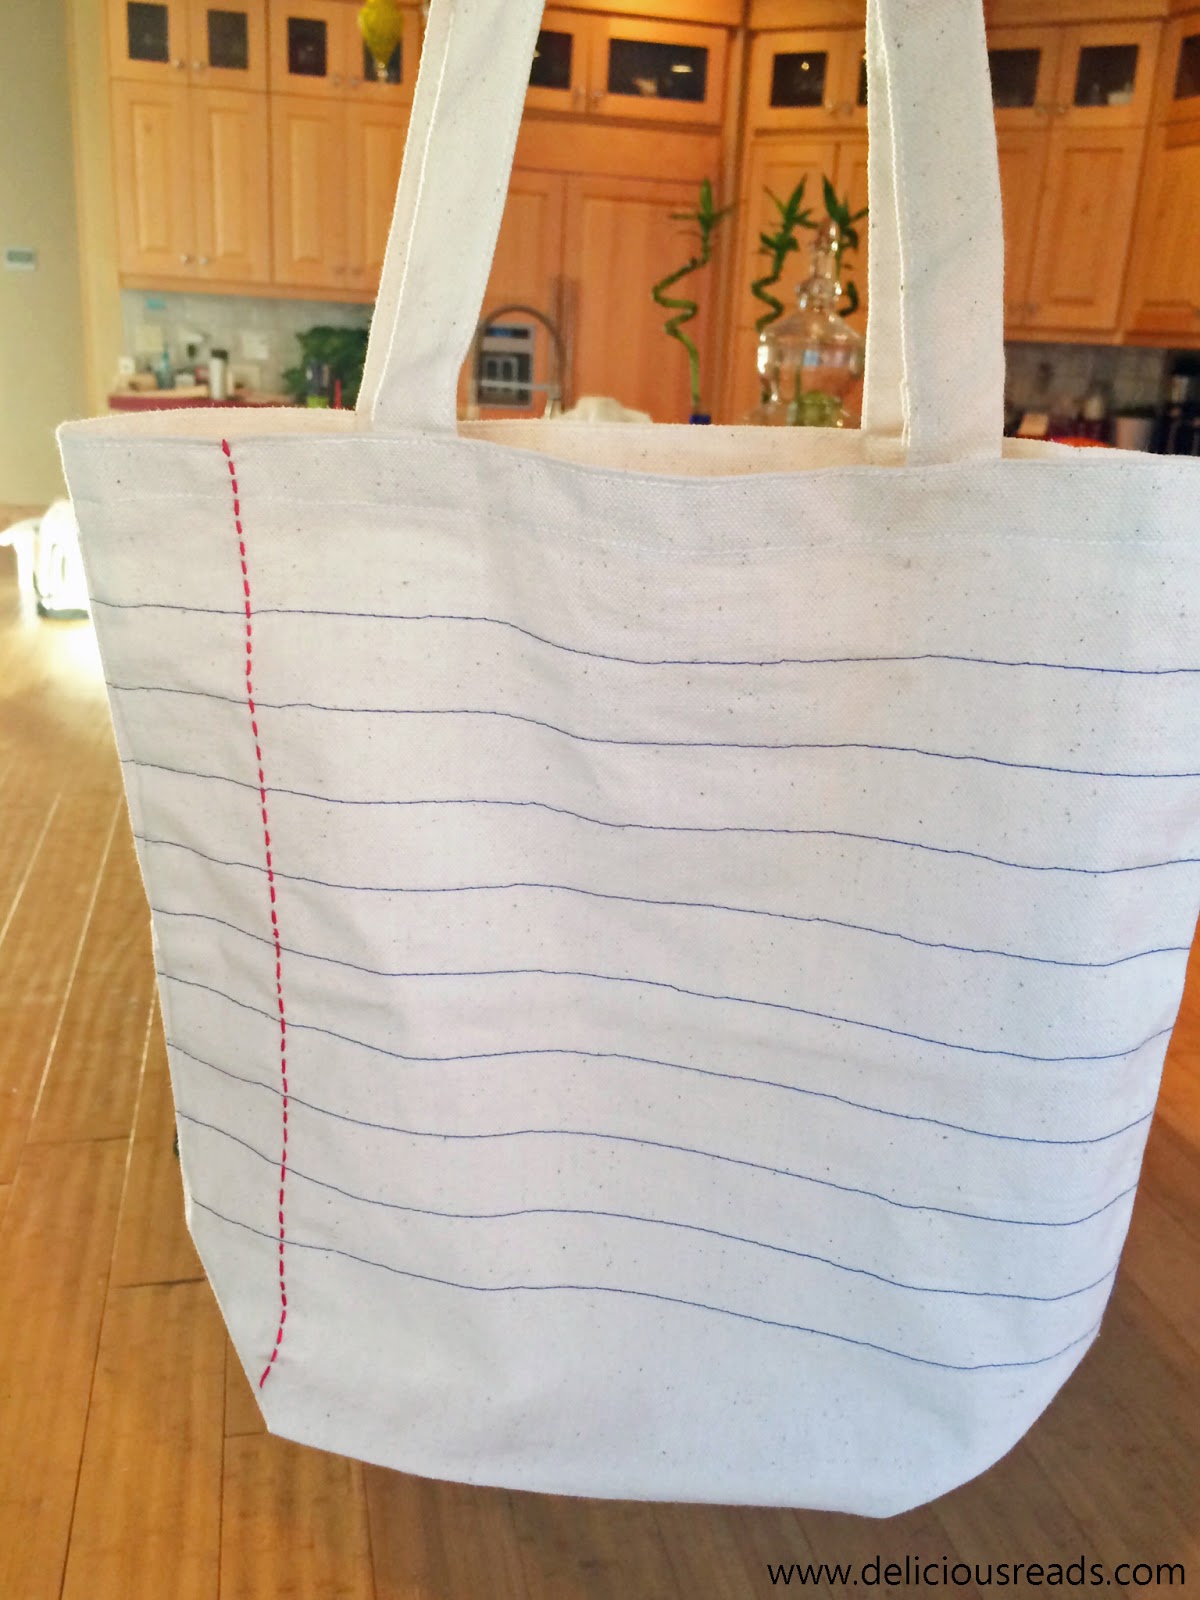
Optioonal Step 5: Customize
If you would like to do a little personalizing this takes a little more time but it turned out really cute. I didn't do this for every bag because I had to do 18 bags but I wanted to try it out and see how it would look. I hand drew the lettering that I wanted on the tote. Then I bought some blue embroidery thread to do the stitching. I used the same concept of the red thread stitching just followed the lettering that I drew on there.
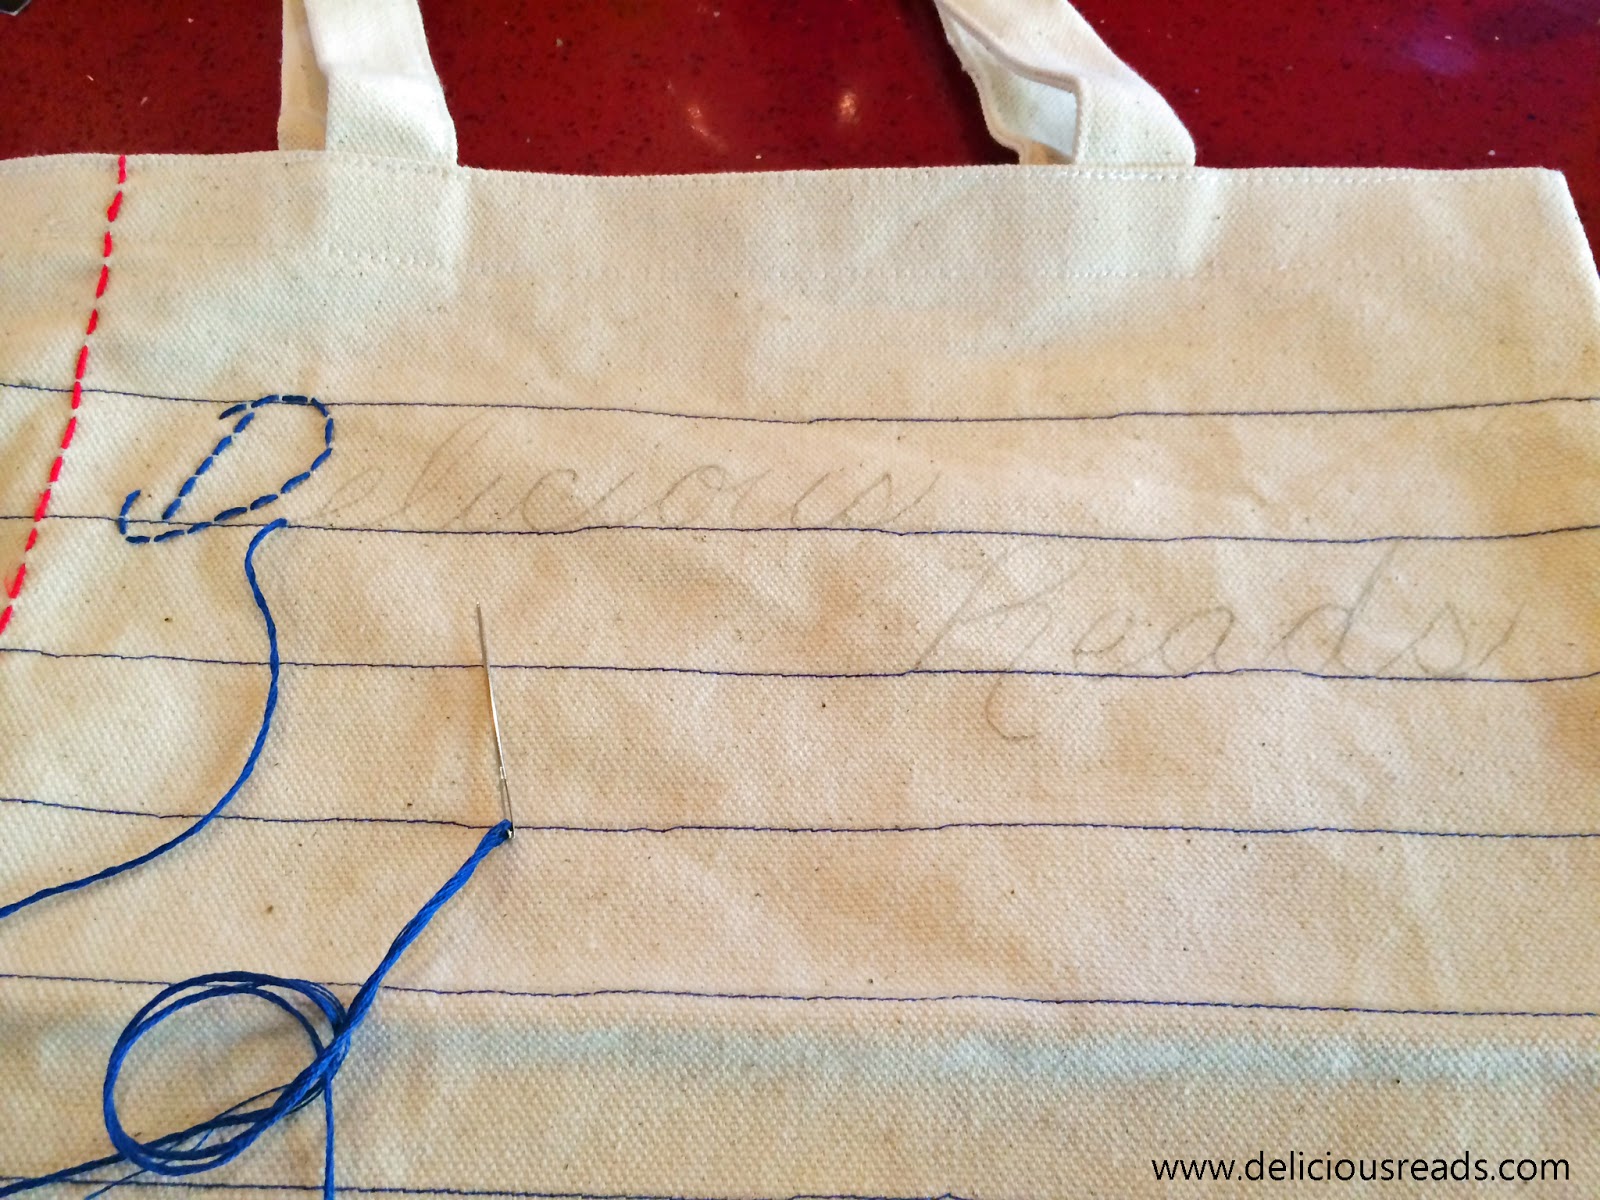
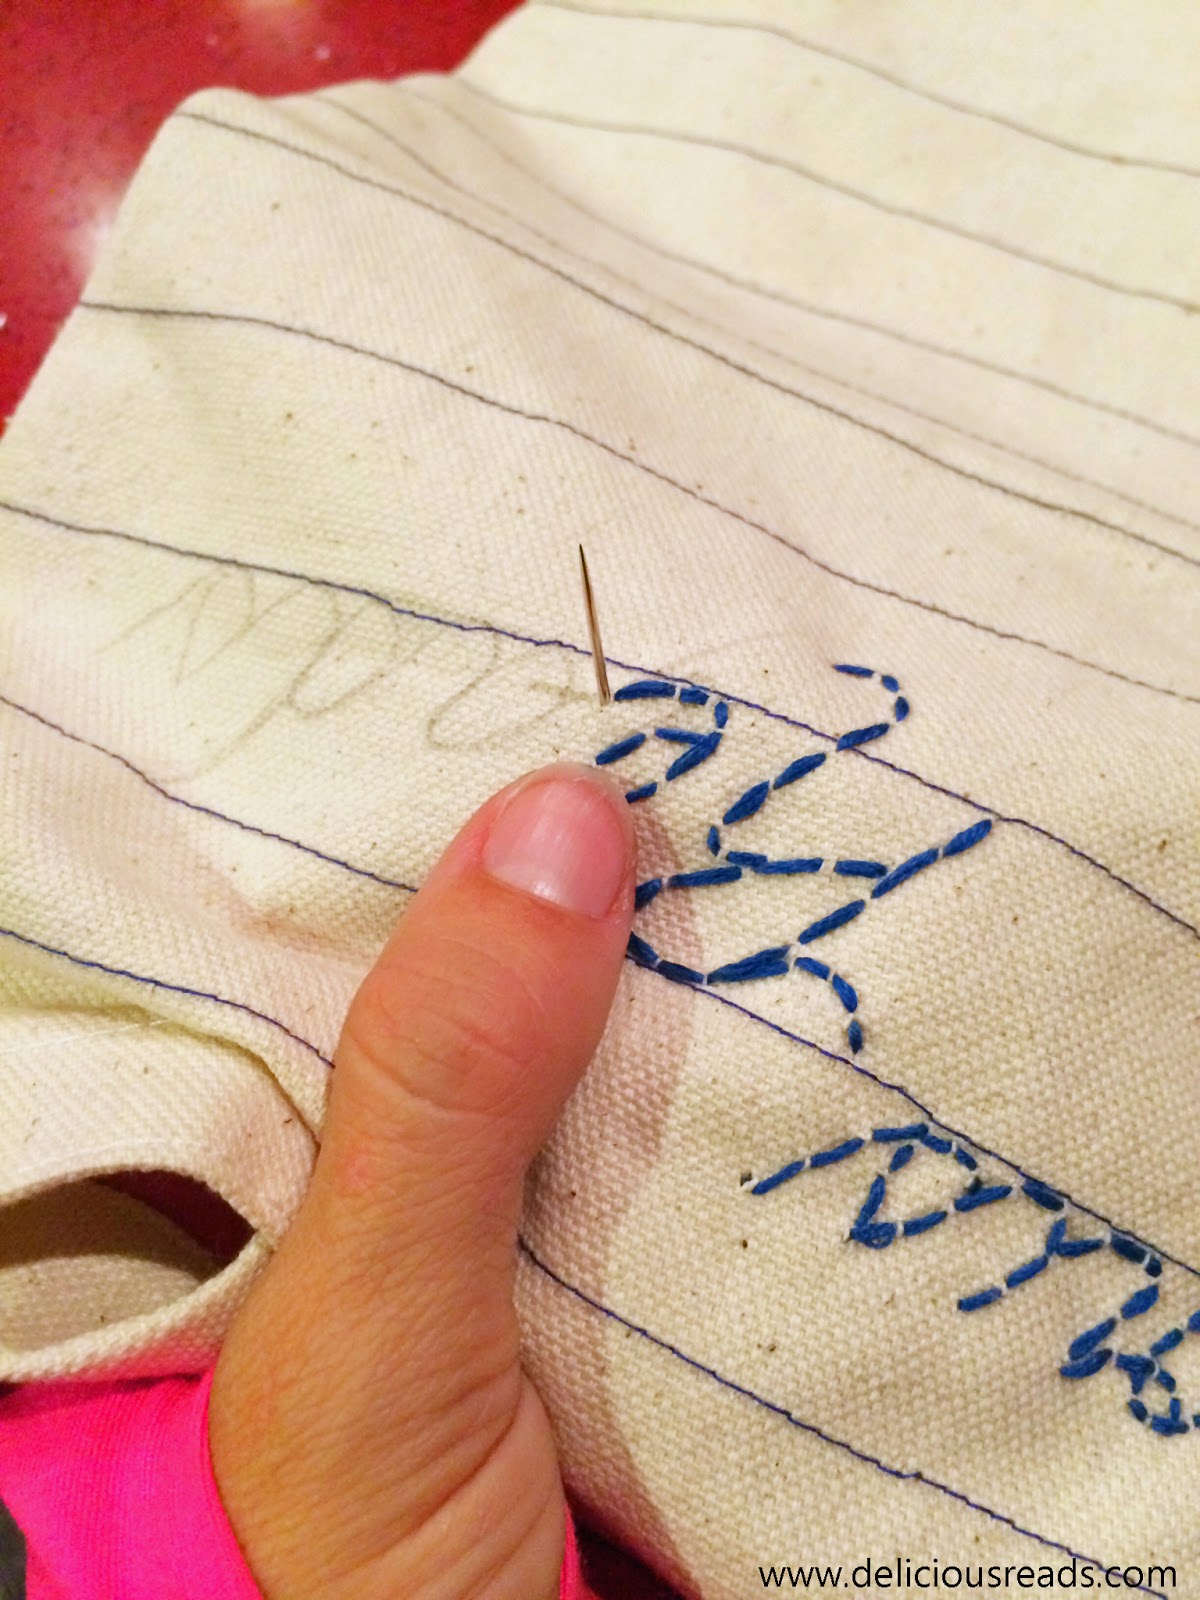
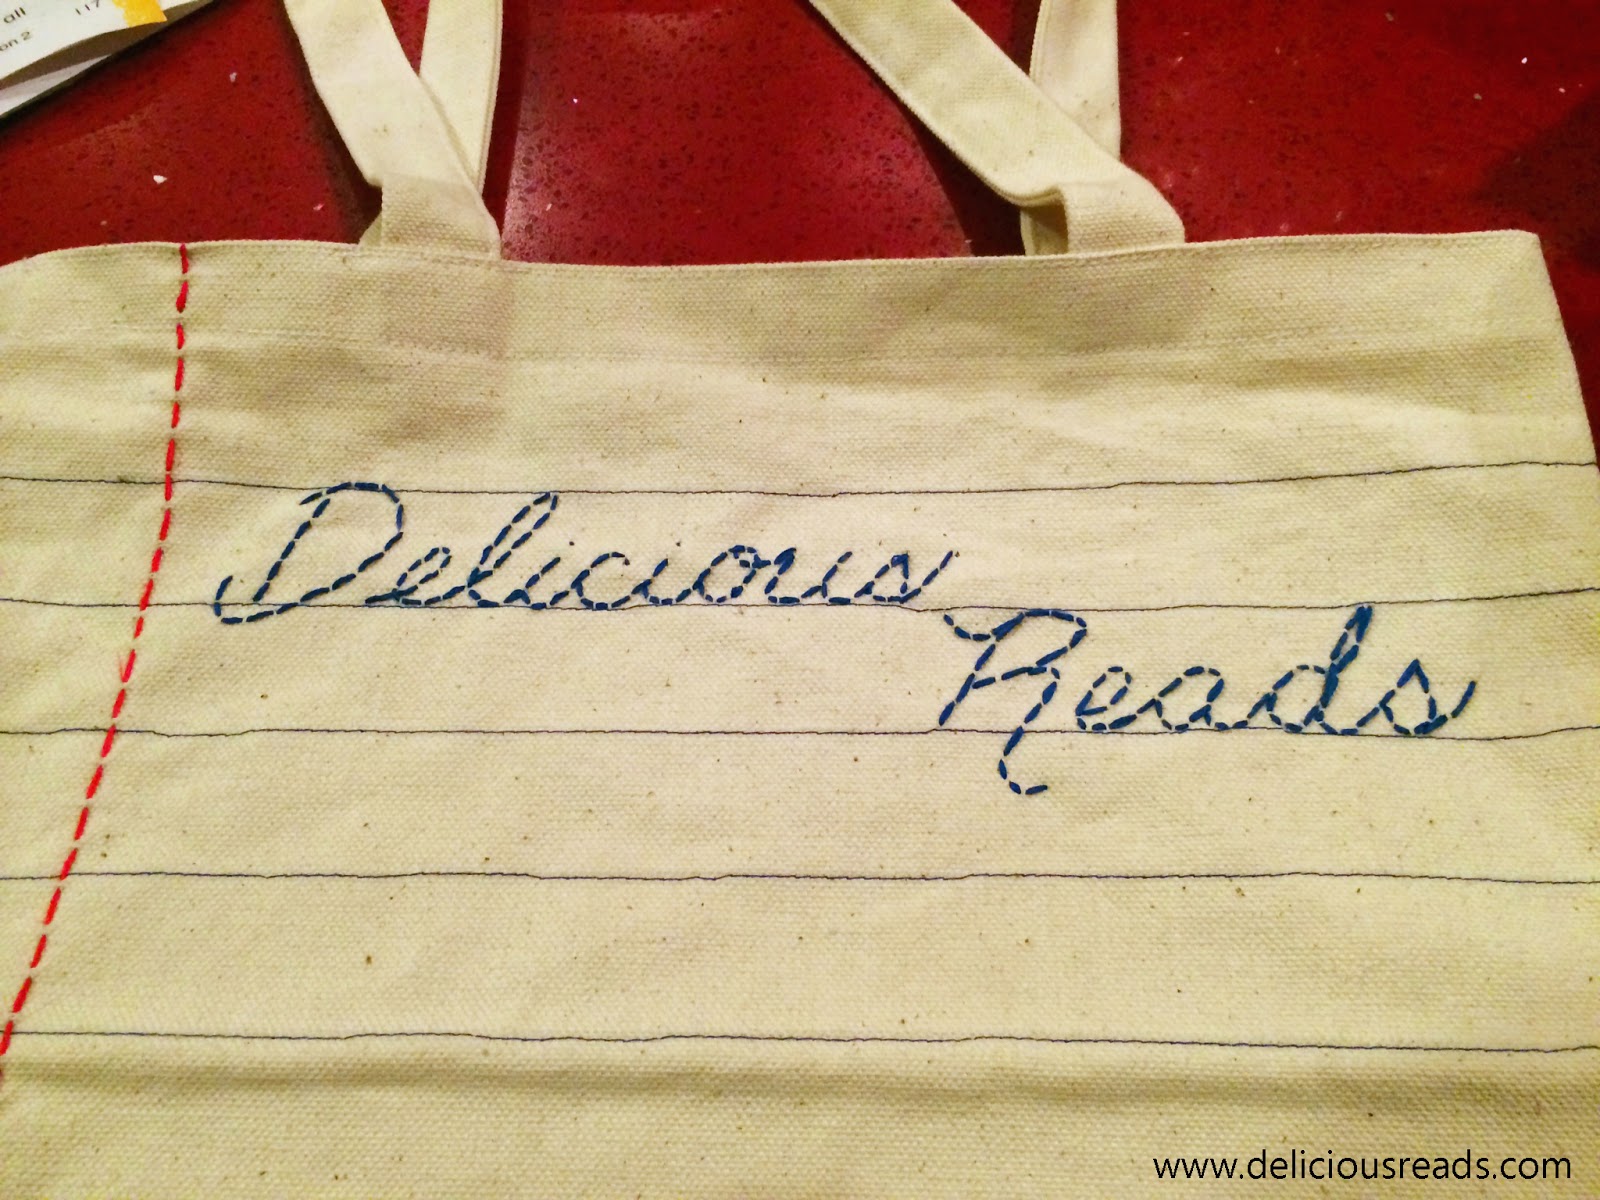
The Finished Personalized Tote!

Library Card Design
Step 1:
Same as in the first design
Step 2:
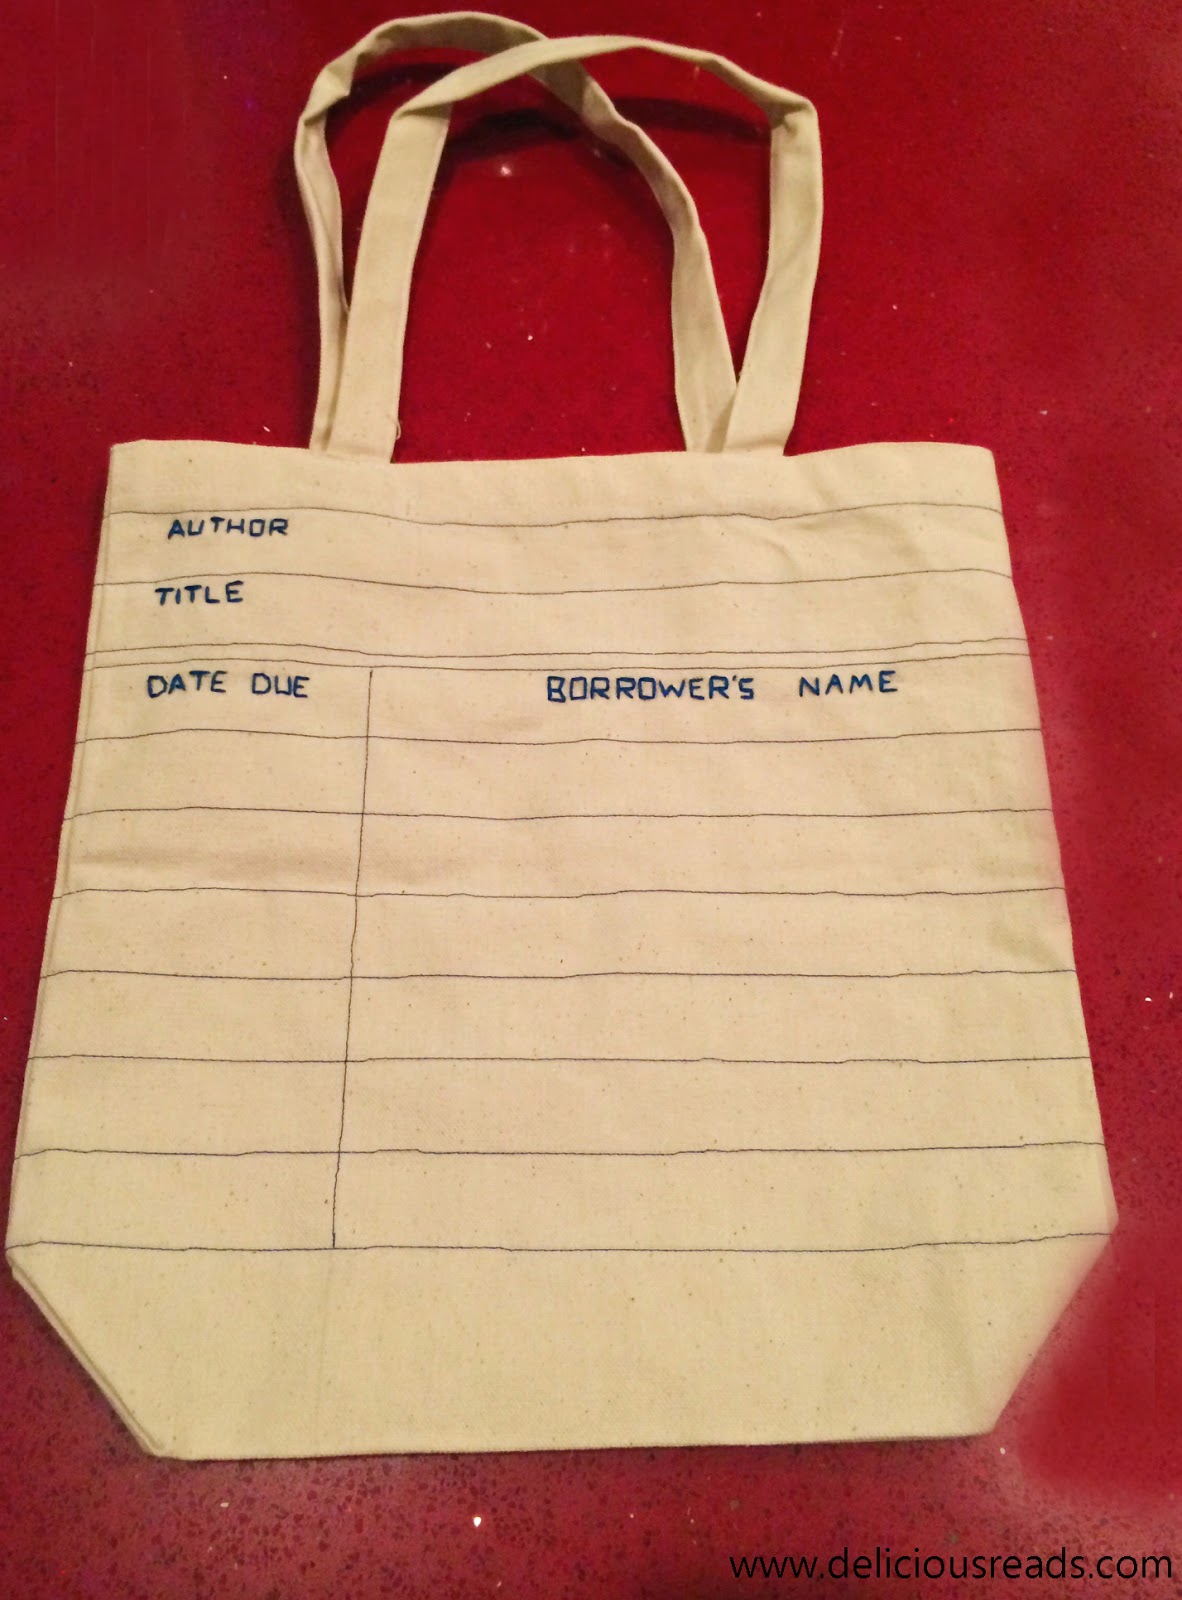
When you draw the lines on use this pattern in the picture. I started the first line 1 inch from the top, did two spaces then a double line close together. The vertical line goes from the double line down to the bottom line and farther in from the edge then the other design (about 3 inches).
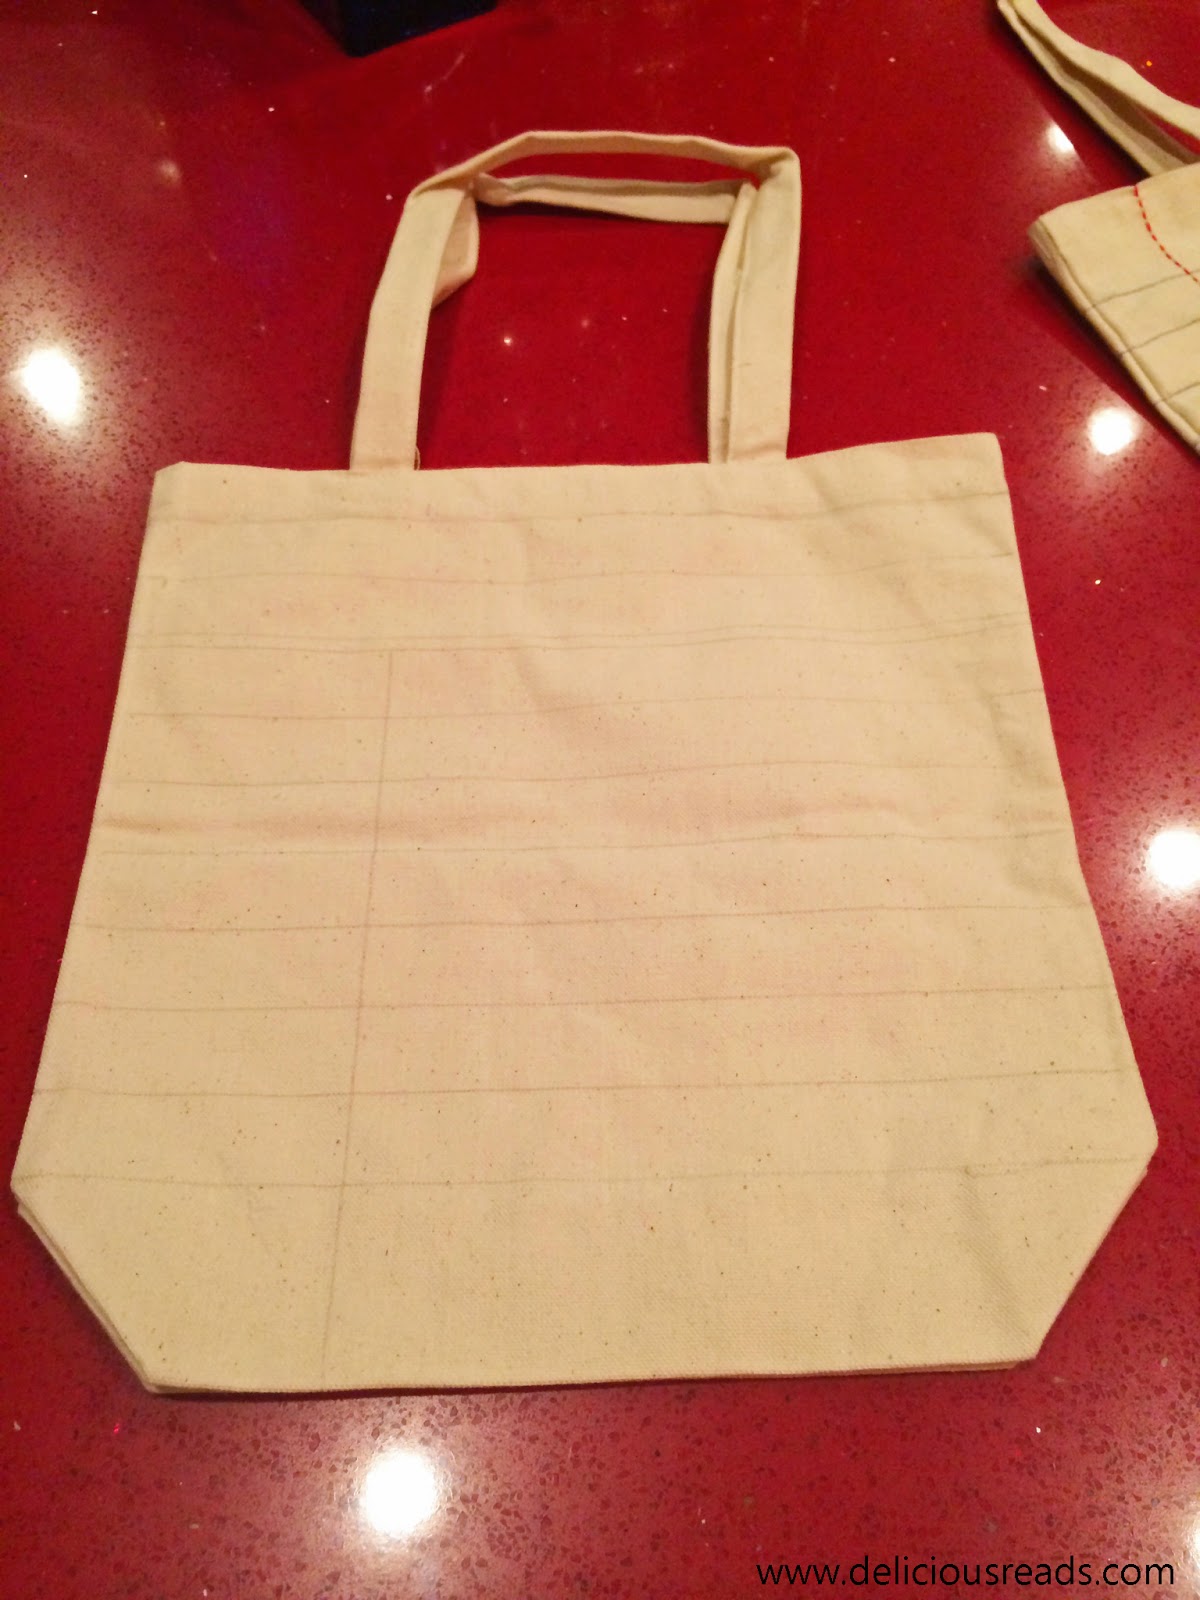
Step 3:
Sew it the same way as the first tote but this time you will sew one vertical line as in the picture.
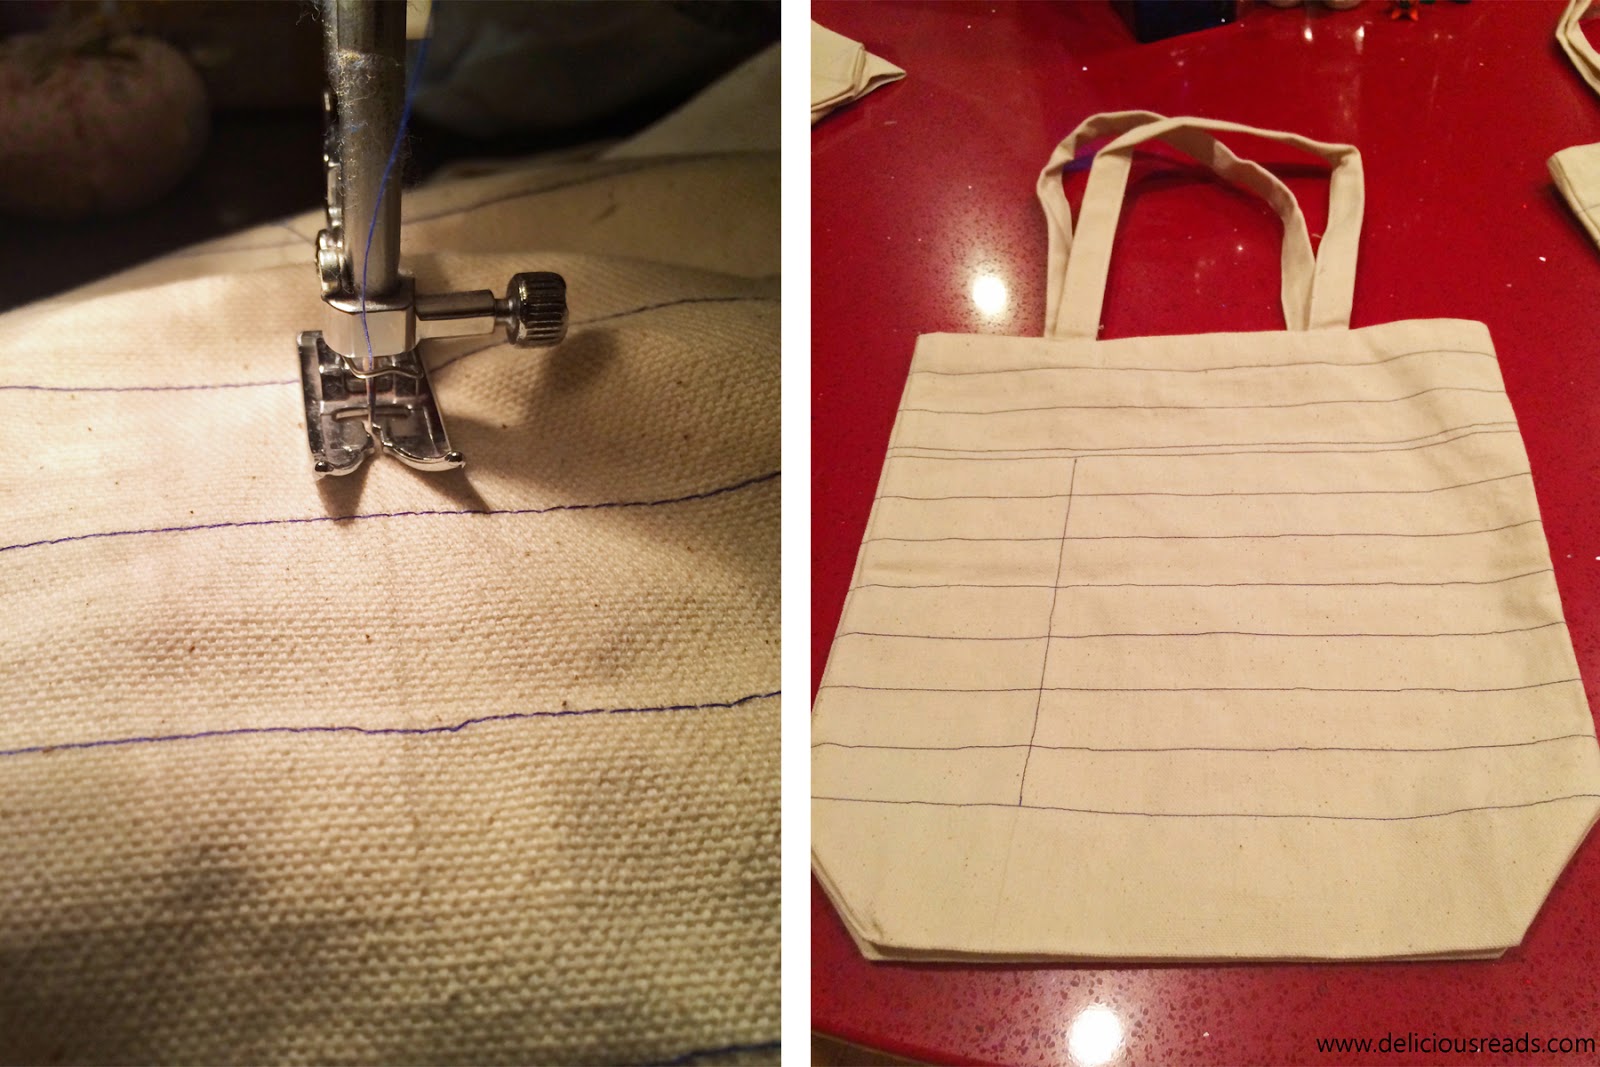
Step 4:
Using your fabric pencil trace on what you want it to say. Look at the pictures below if you want it like a library card. Also I used more of a block lettering so that it would be easier to stitch.
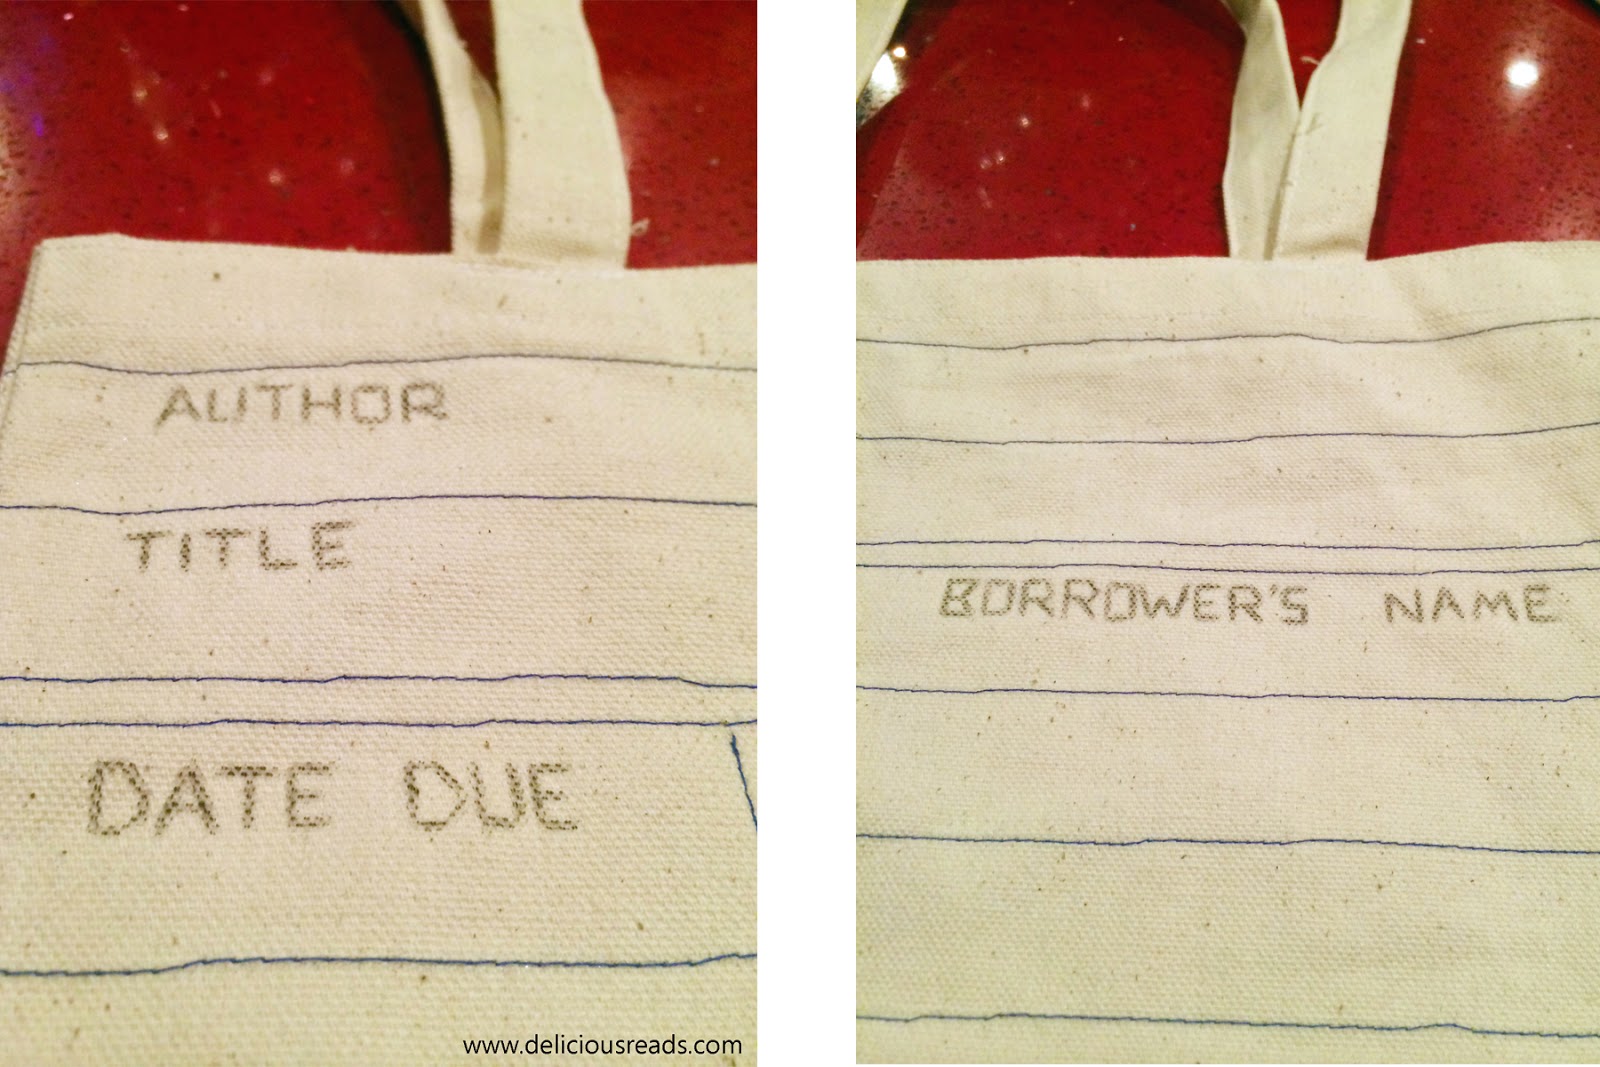

Then just stitch over the lettering using a blue embroidery thread and the needle from before. You can go simple like this or add even a person's name or the book they borrowed and the date it is due. Have fun with it and it would depend on the amount of time you want to put into it.
The finished product!
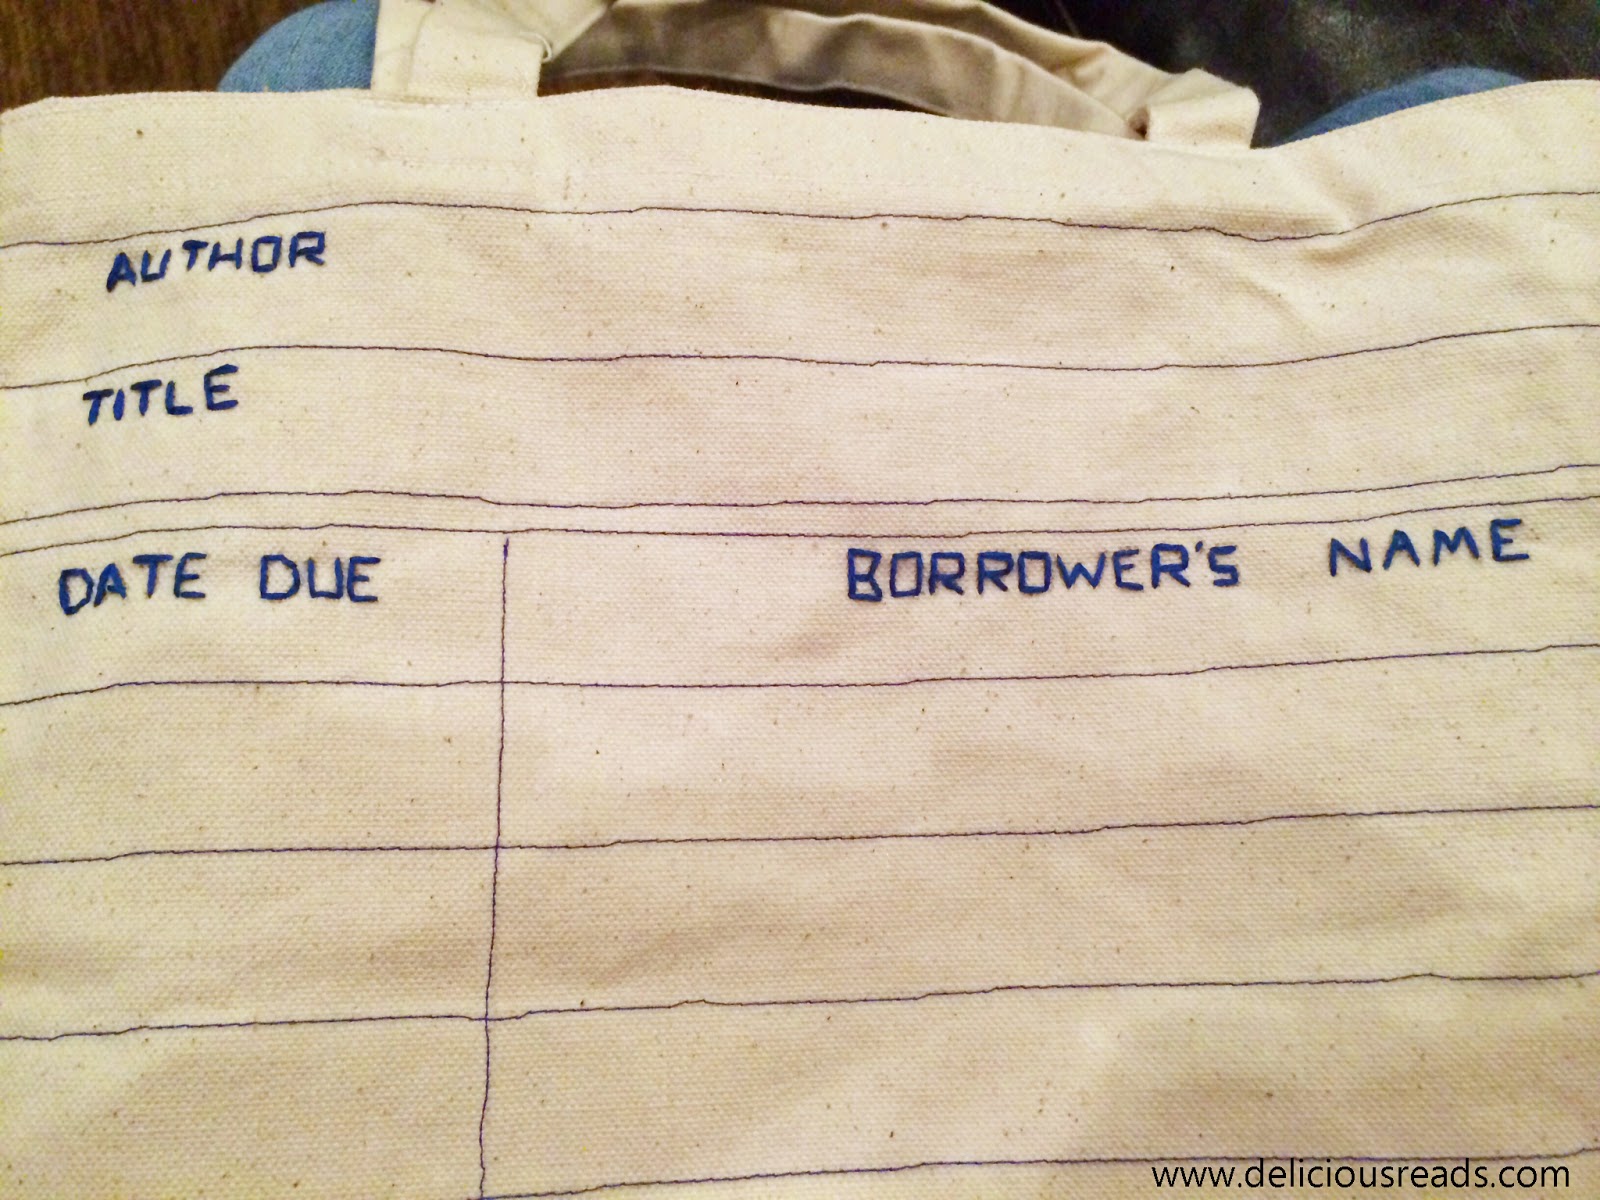
We gifted this bag to author Teri Harman to thank her for coming to speak to us at our BOOK CLUB RETREAT this November.
I hope this tutorial gave you some ideas of your own and was easy to follow. If you have questions just leave them in the comments and I will answer them. Have fun sewing and being creative!
XOXO,
Kellie


.JPG "Delicious Reads Retreat, Black Moon, Sleepover, Teri Harman, Swag Bag, Totes")


